A Sweet Celebration – DIY Cake Smash Session for Emilia’s First Birthday
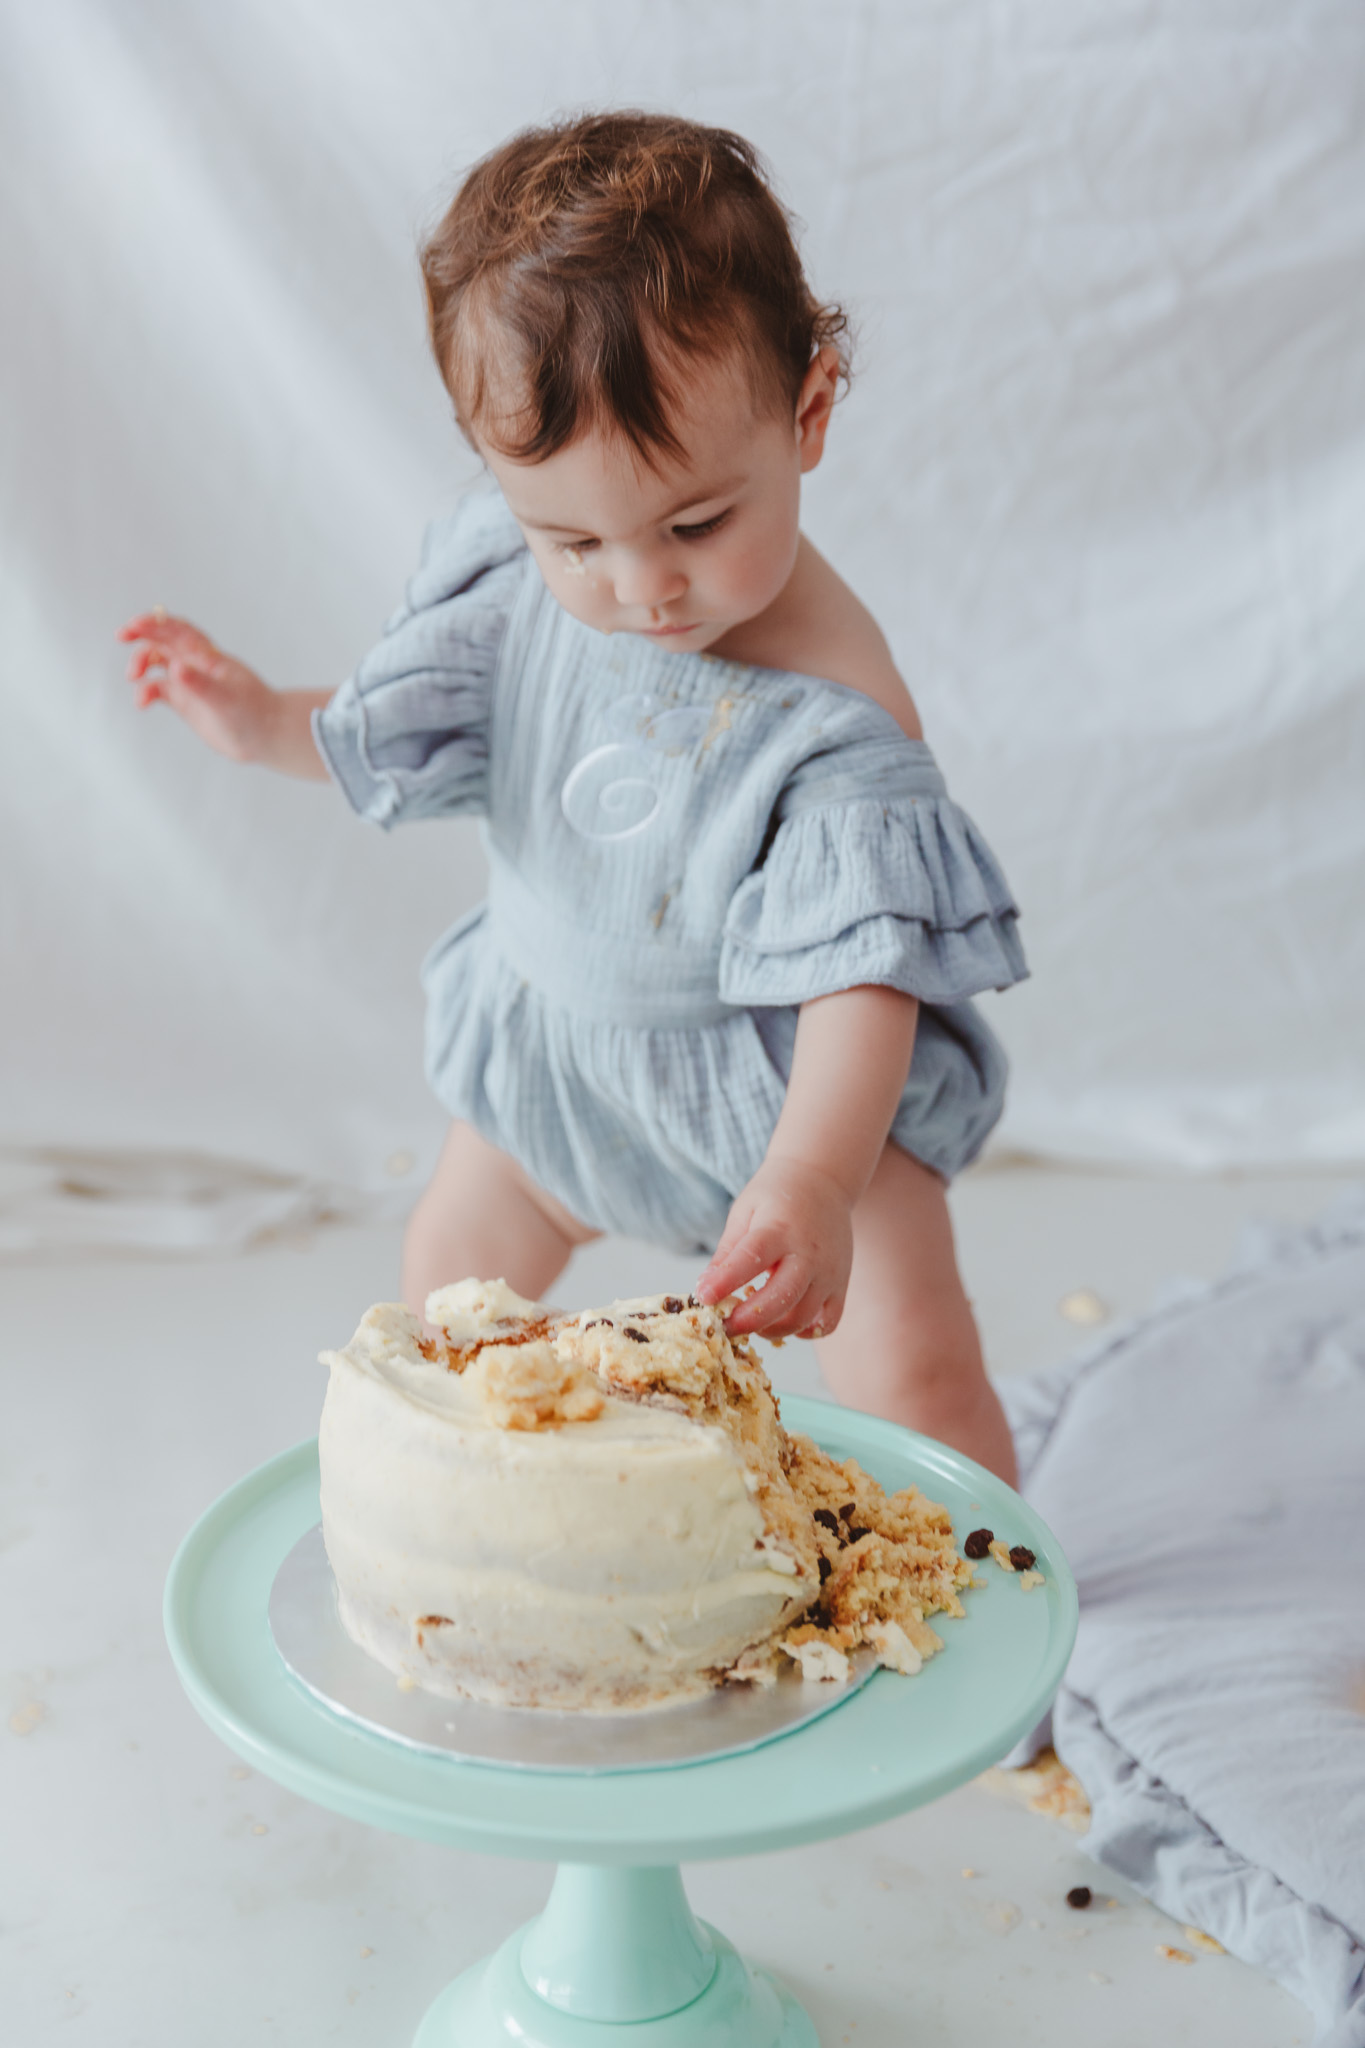
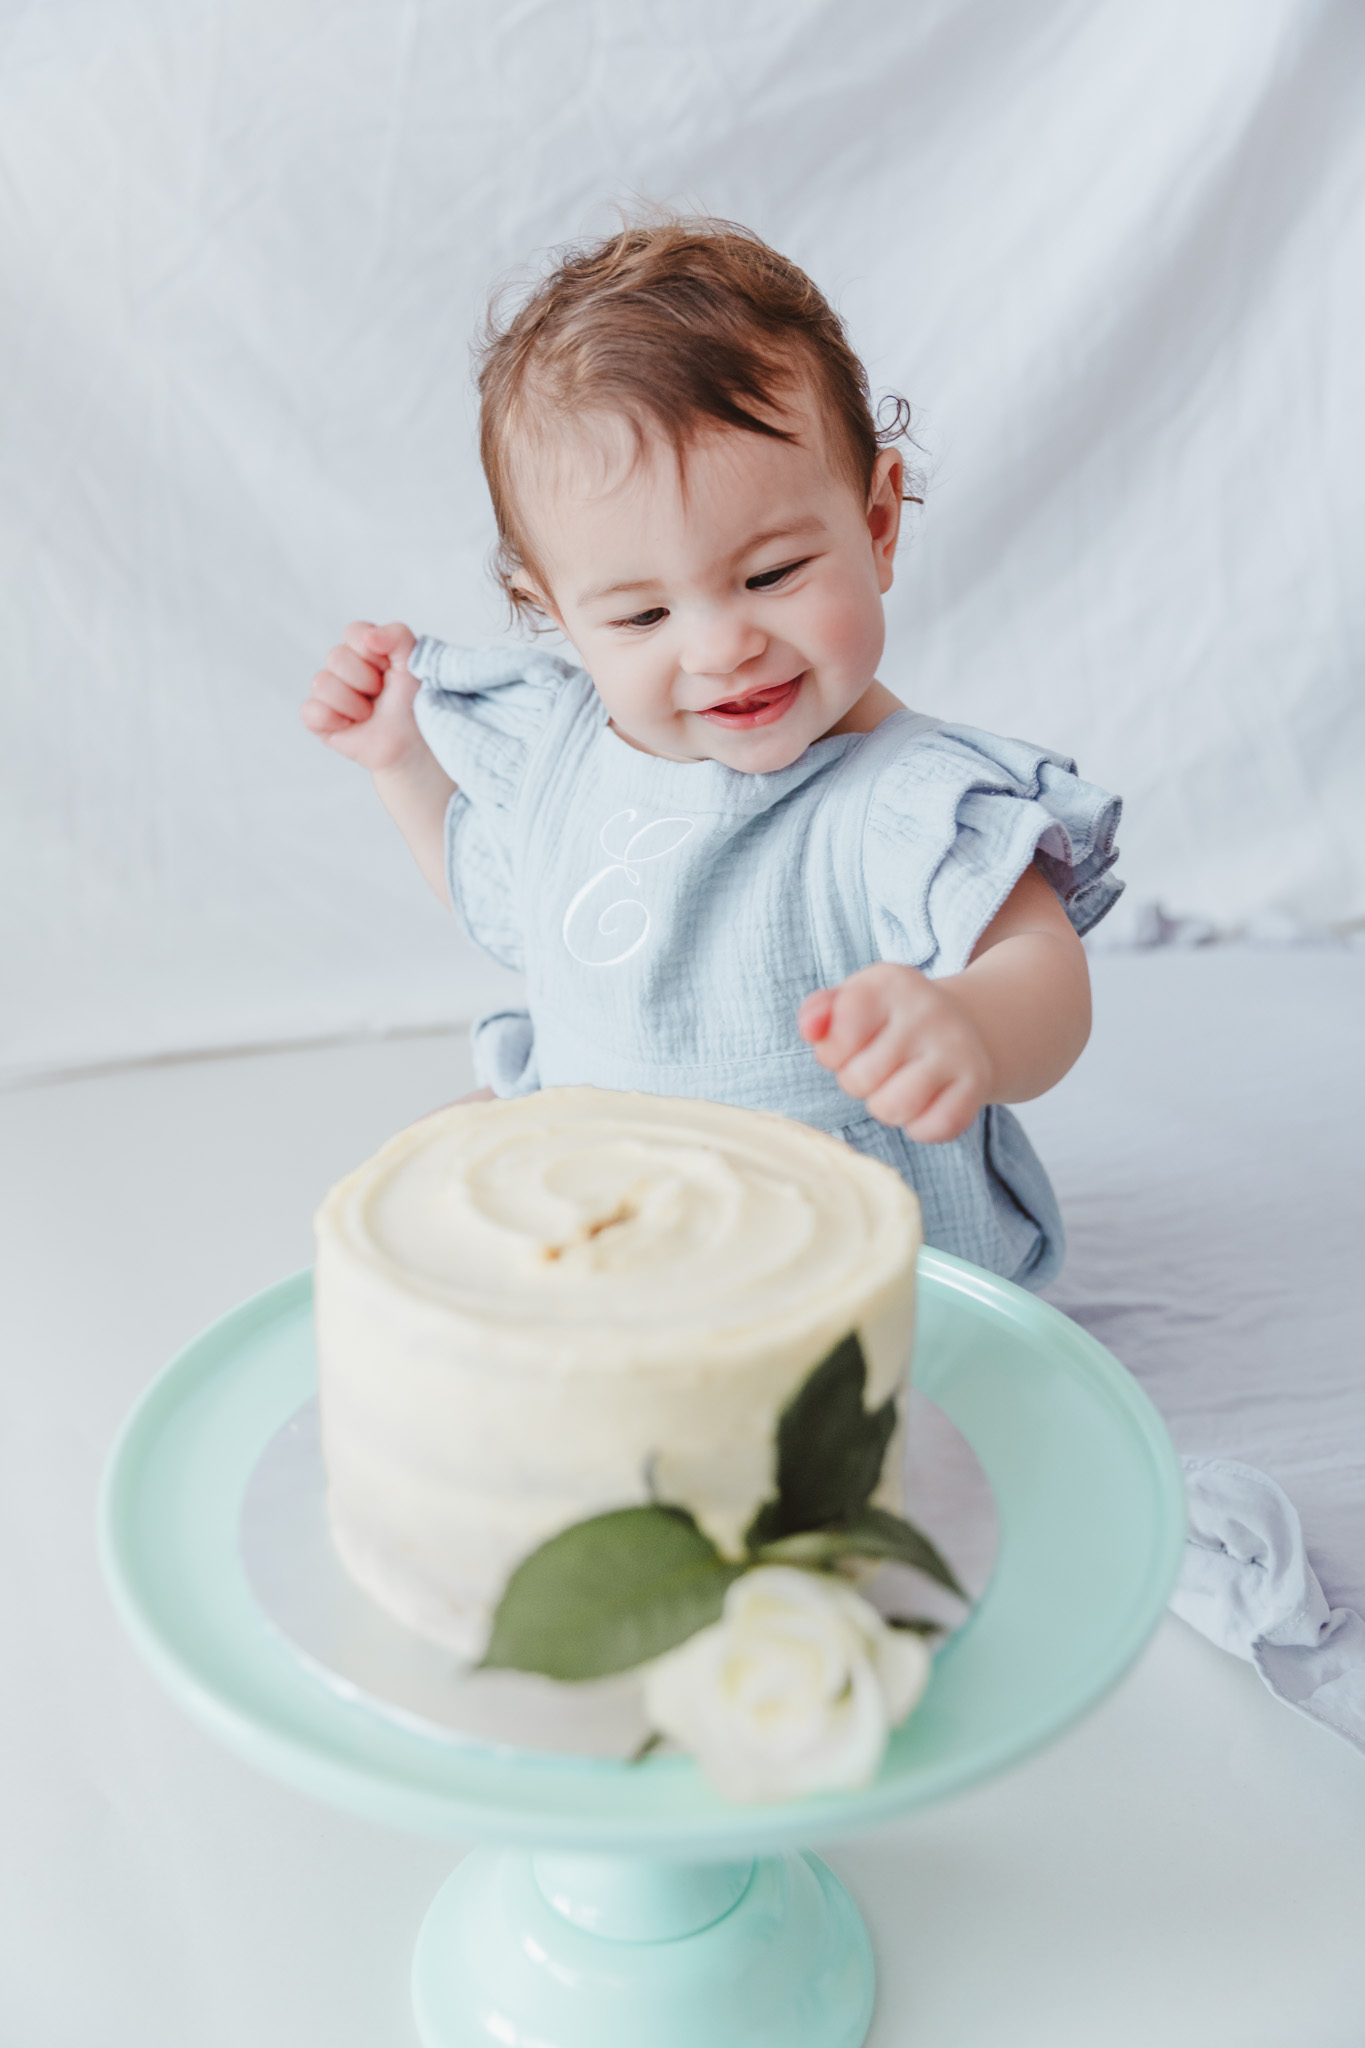
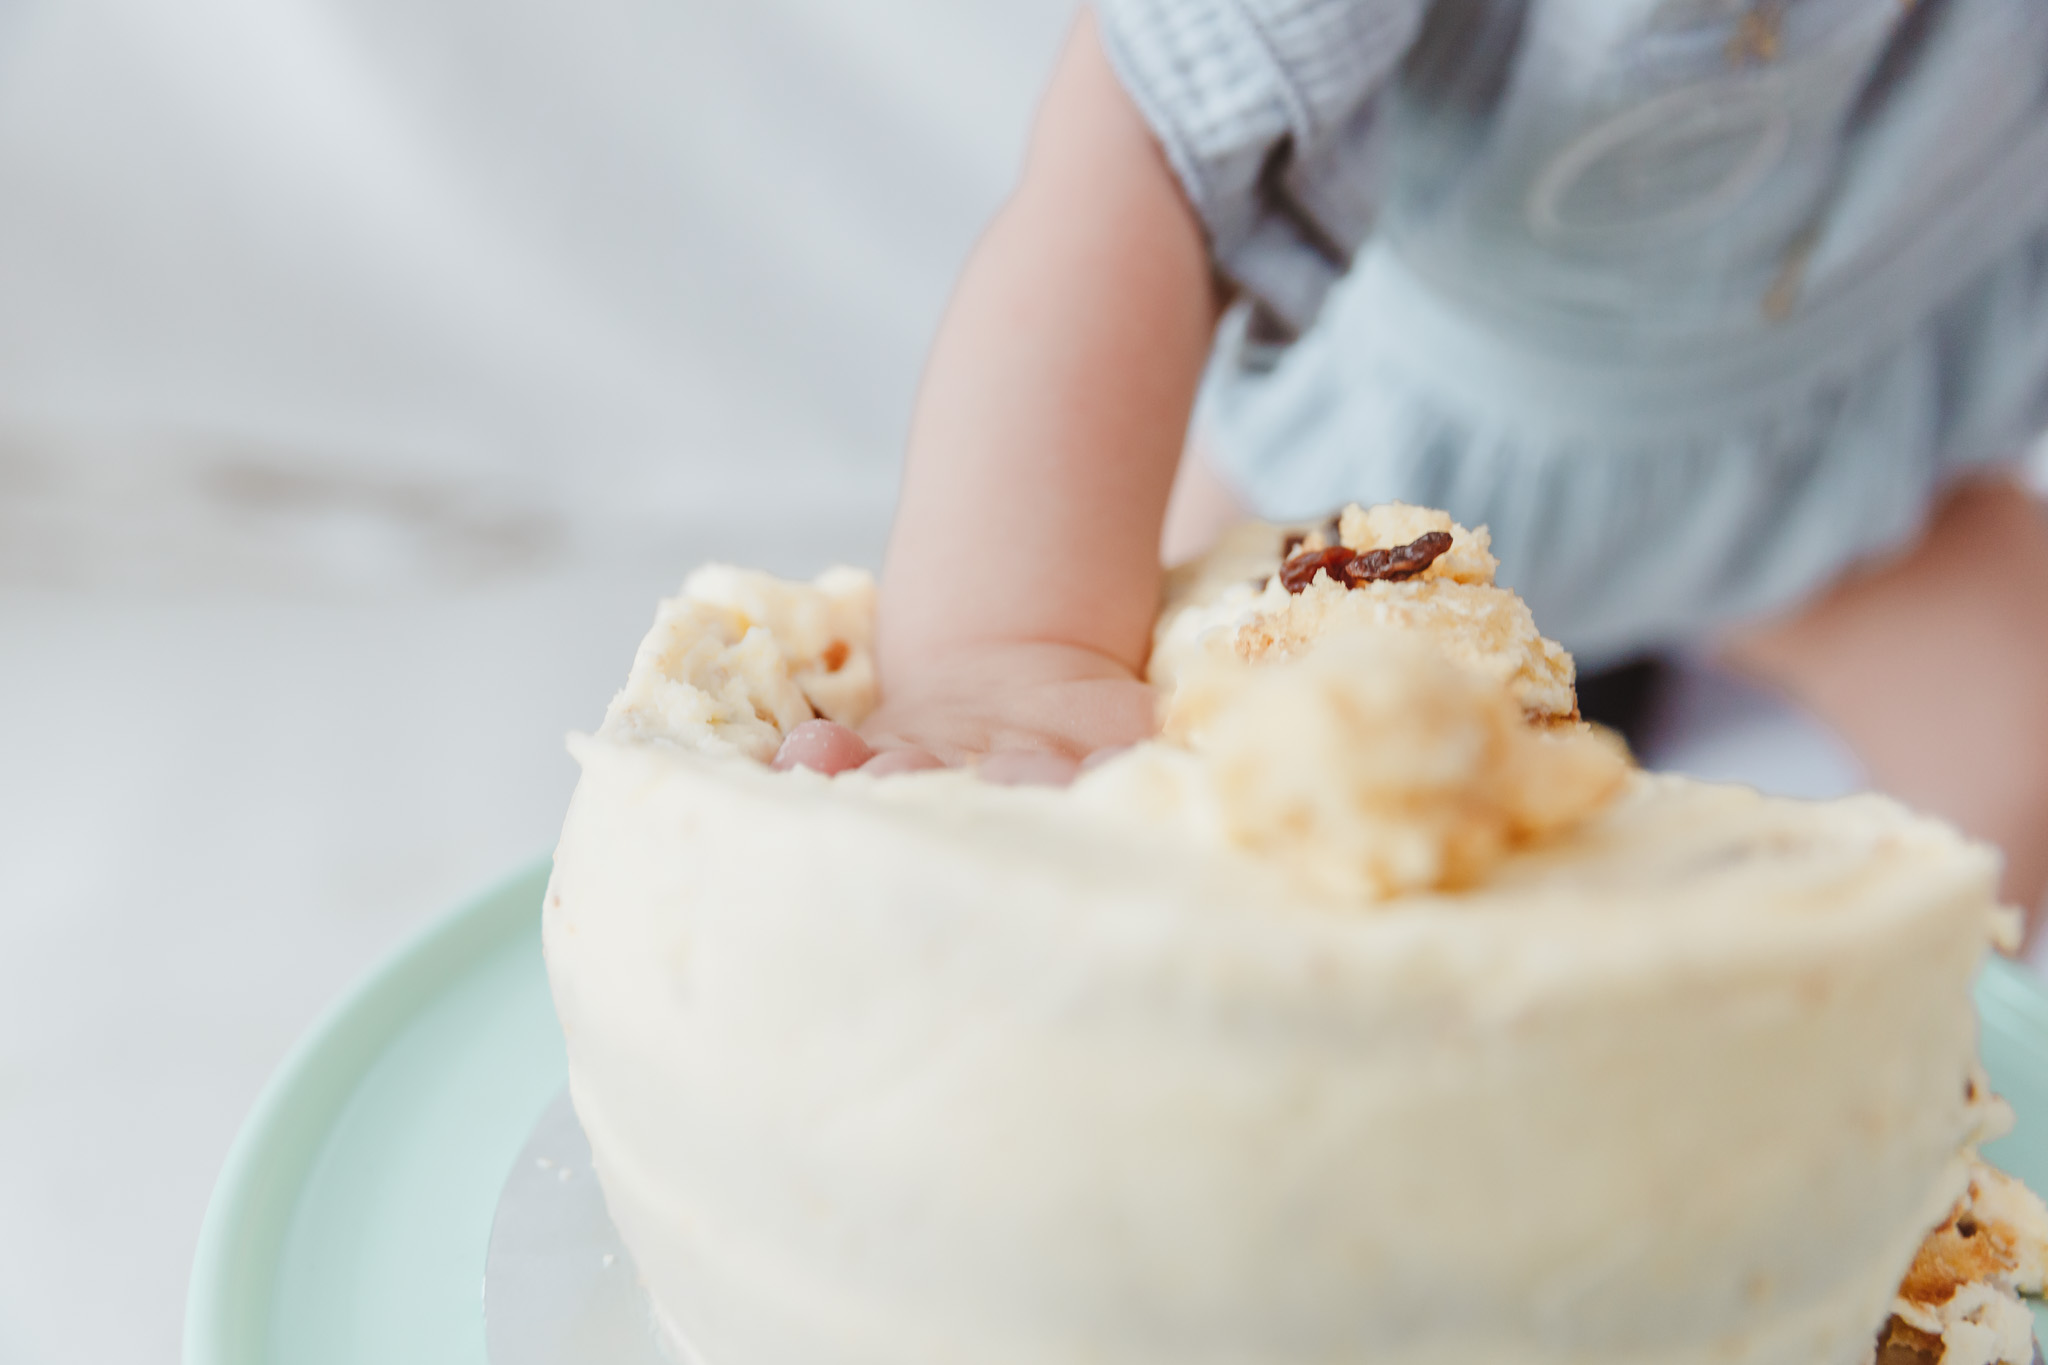
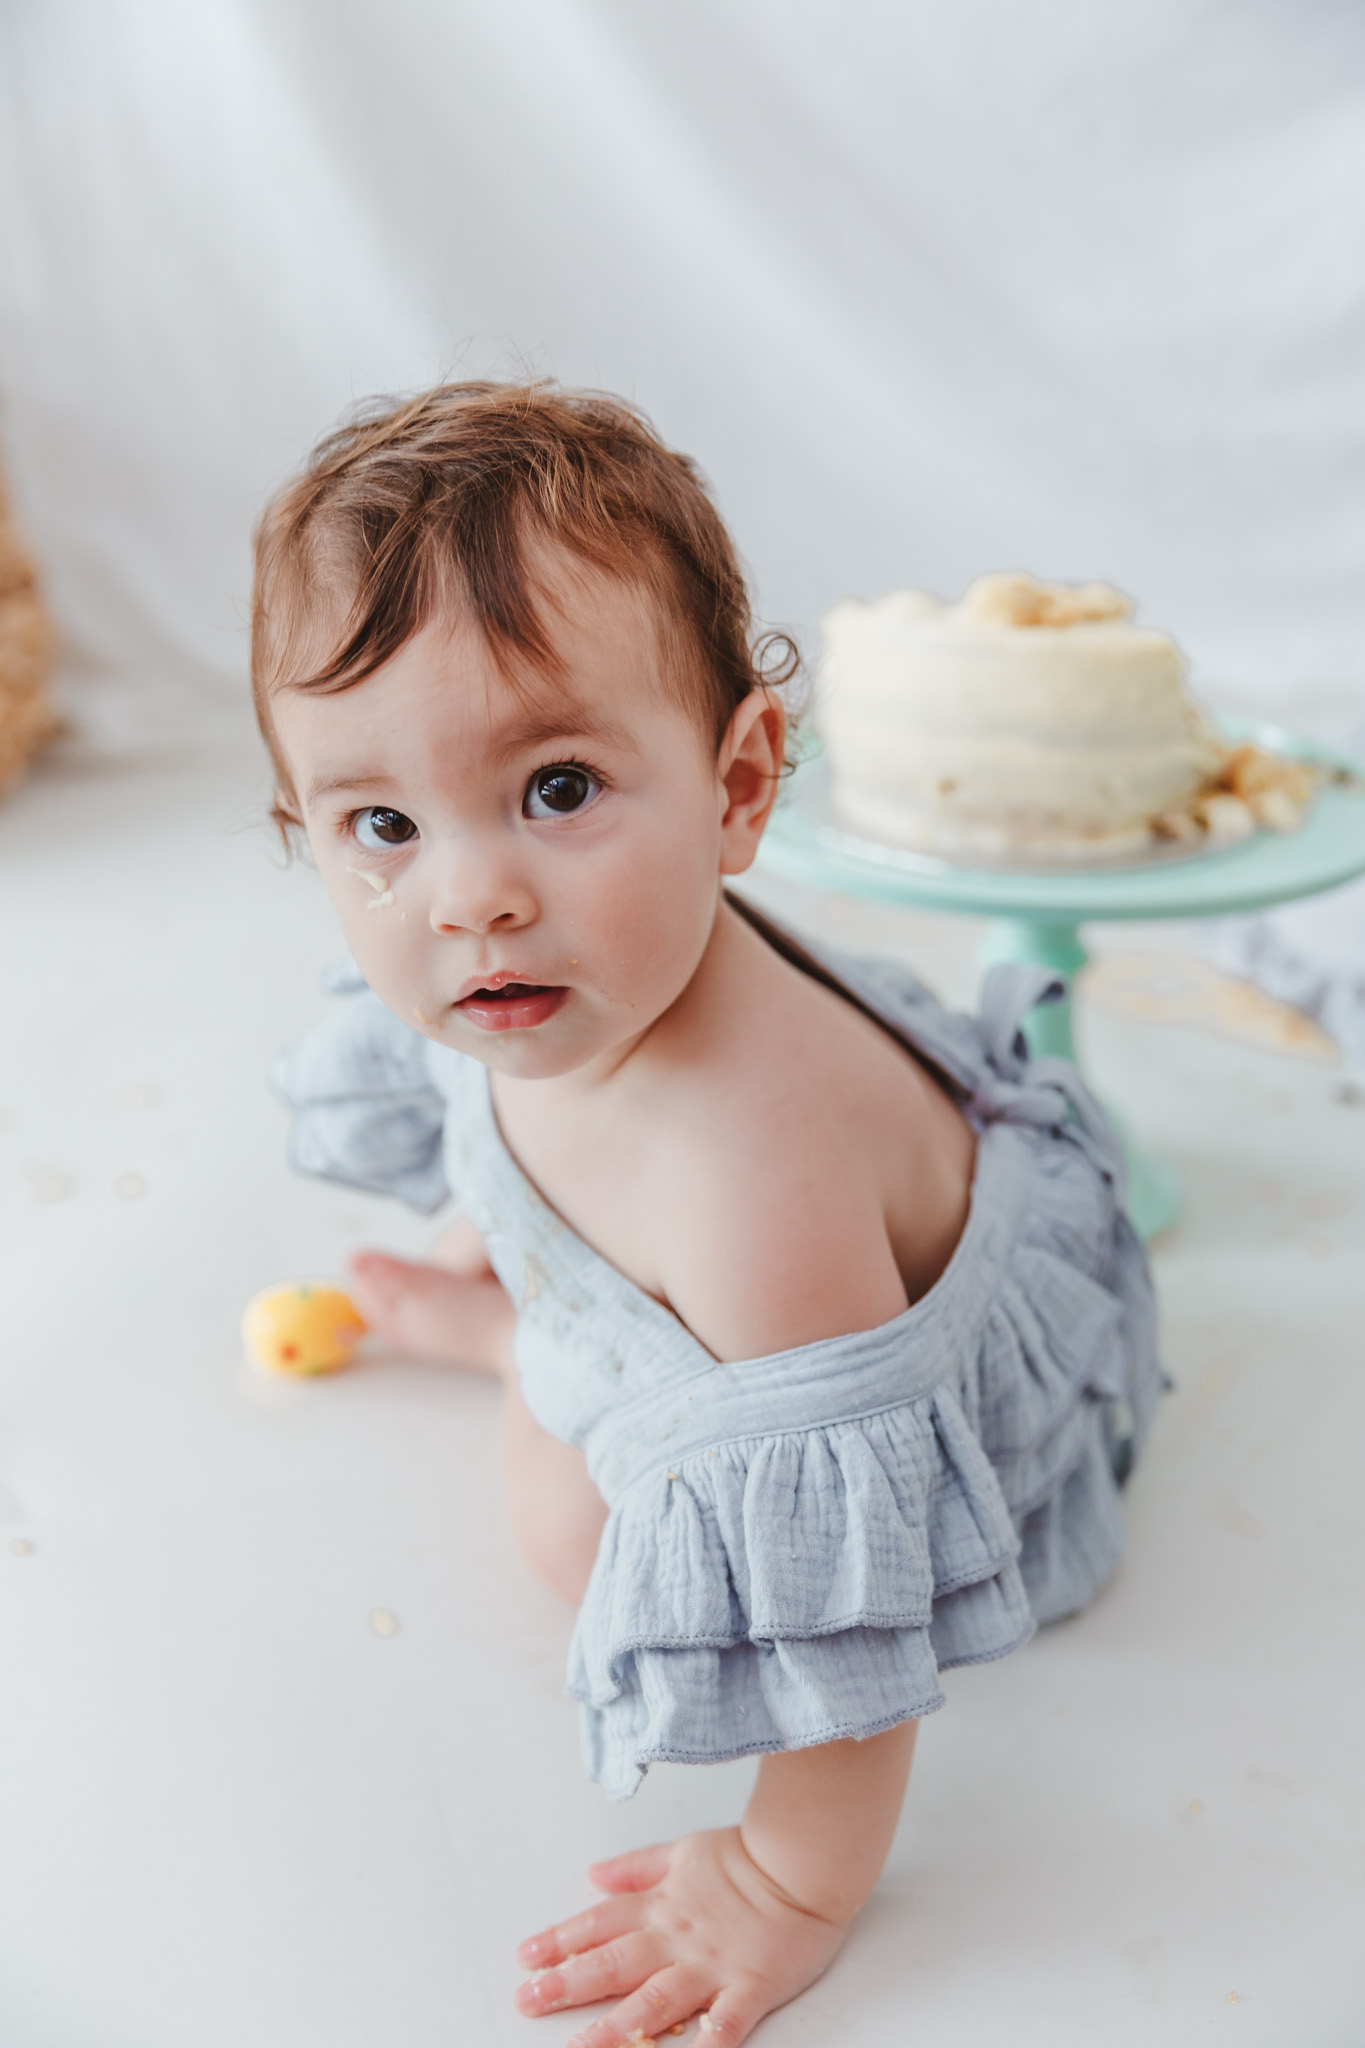
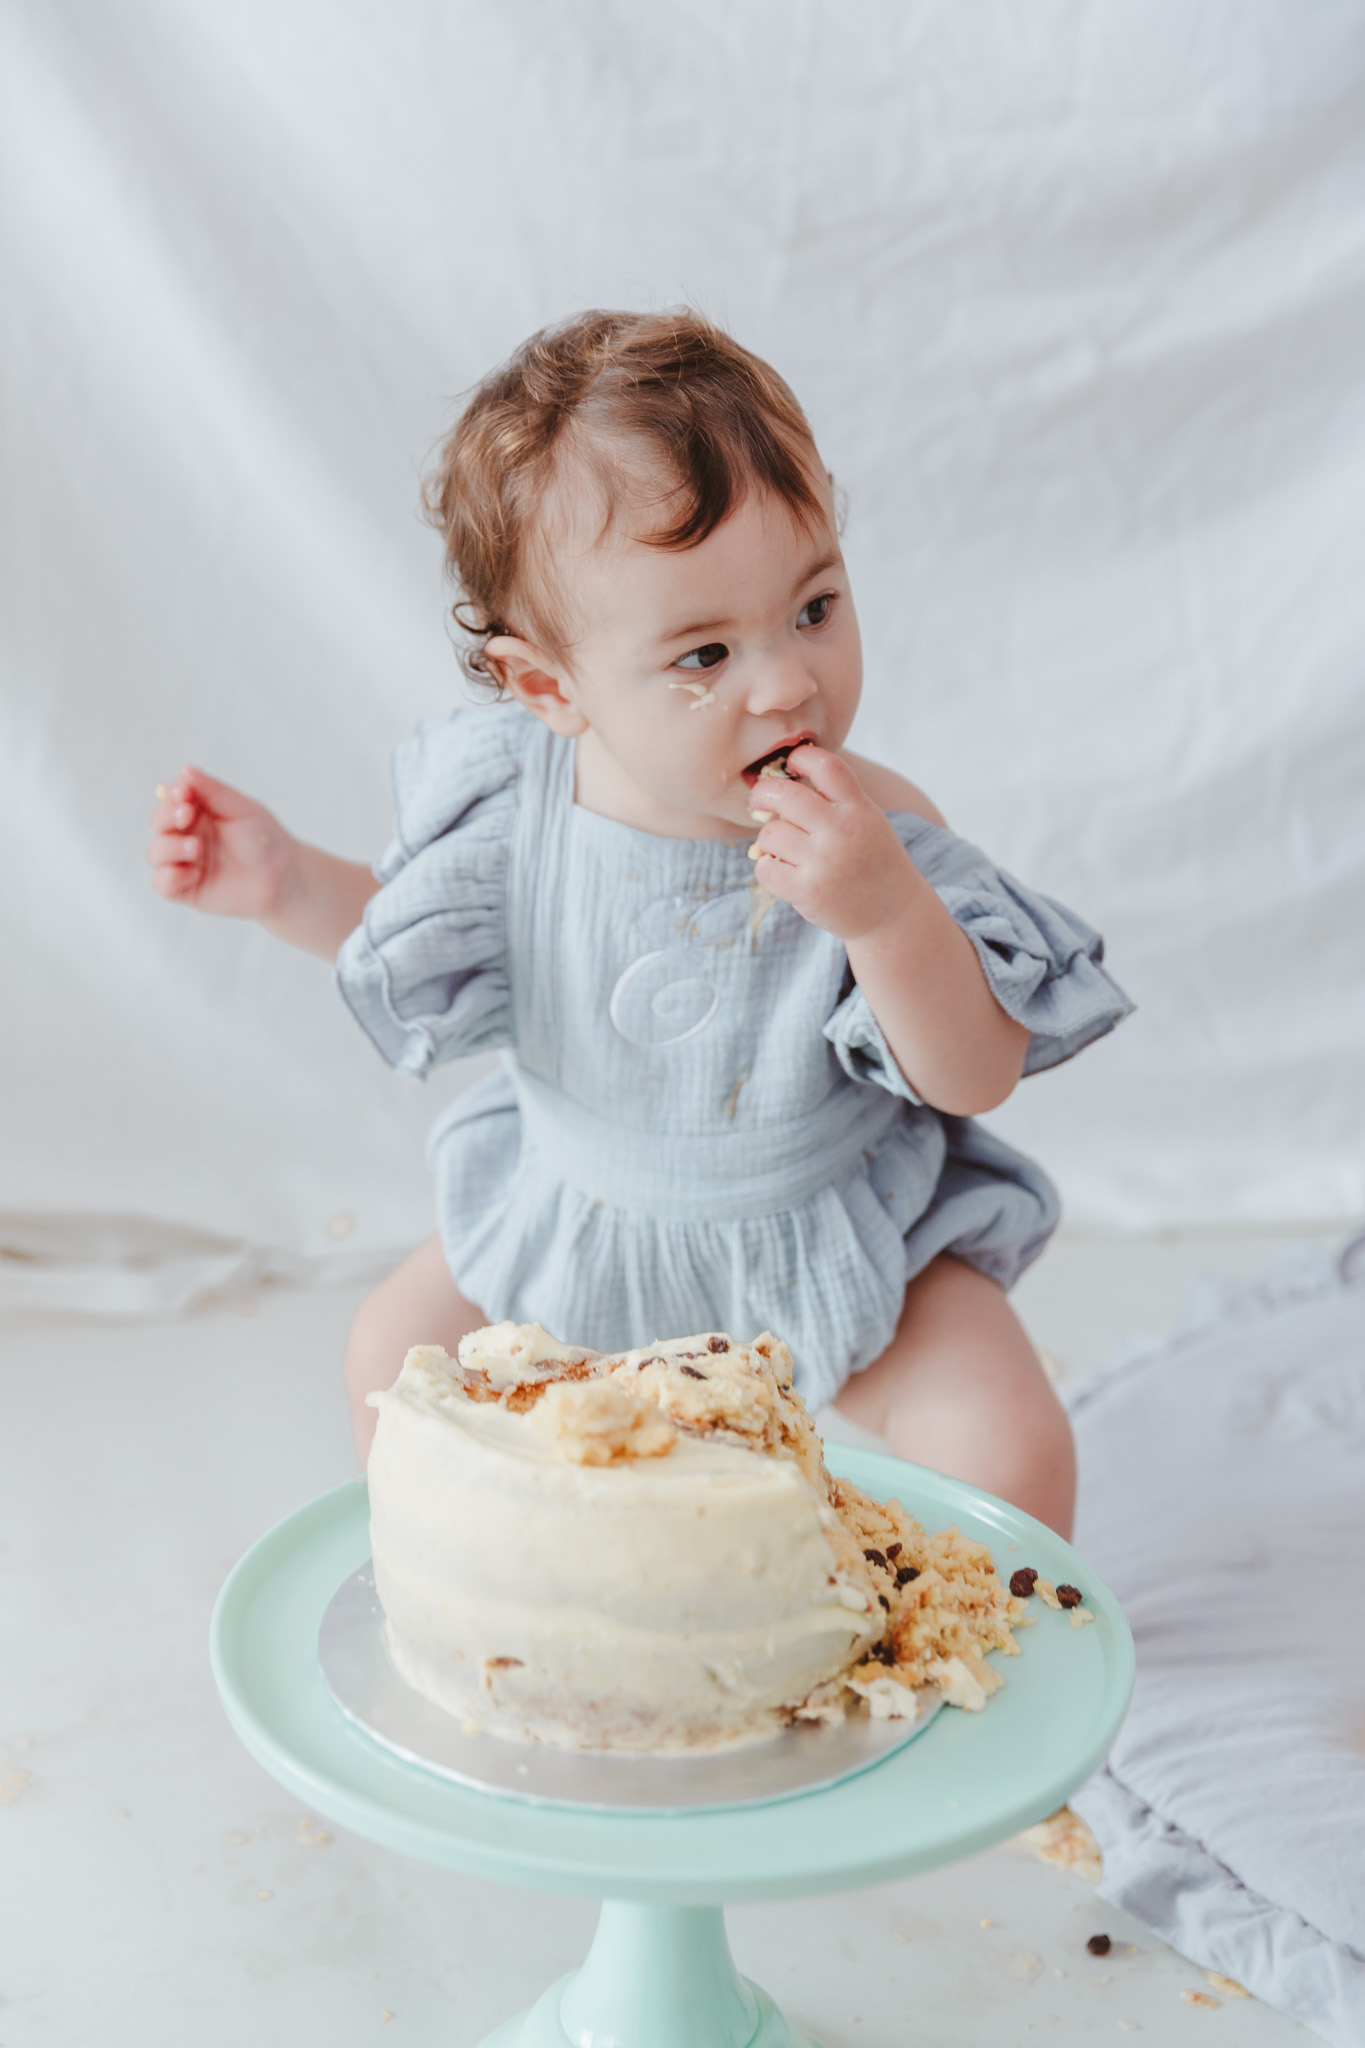
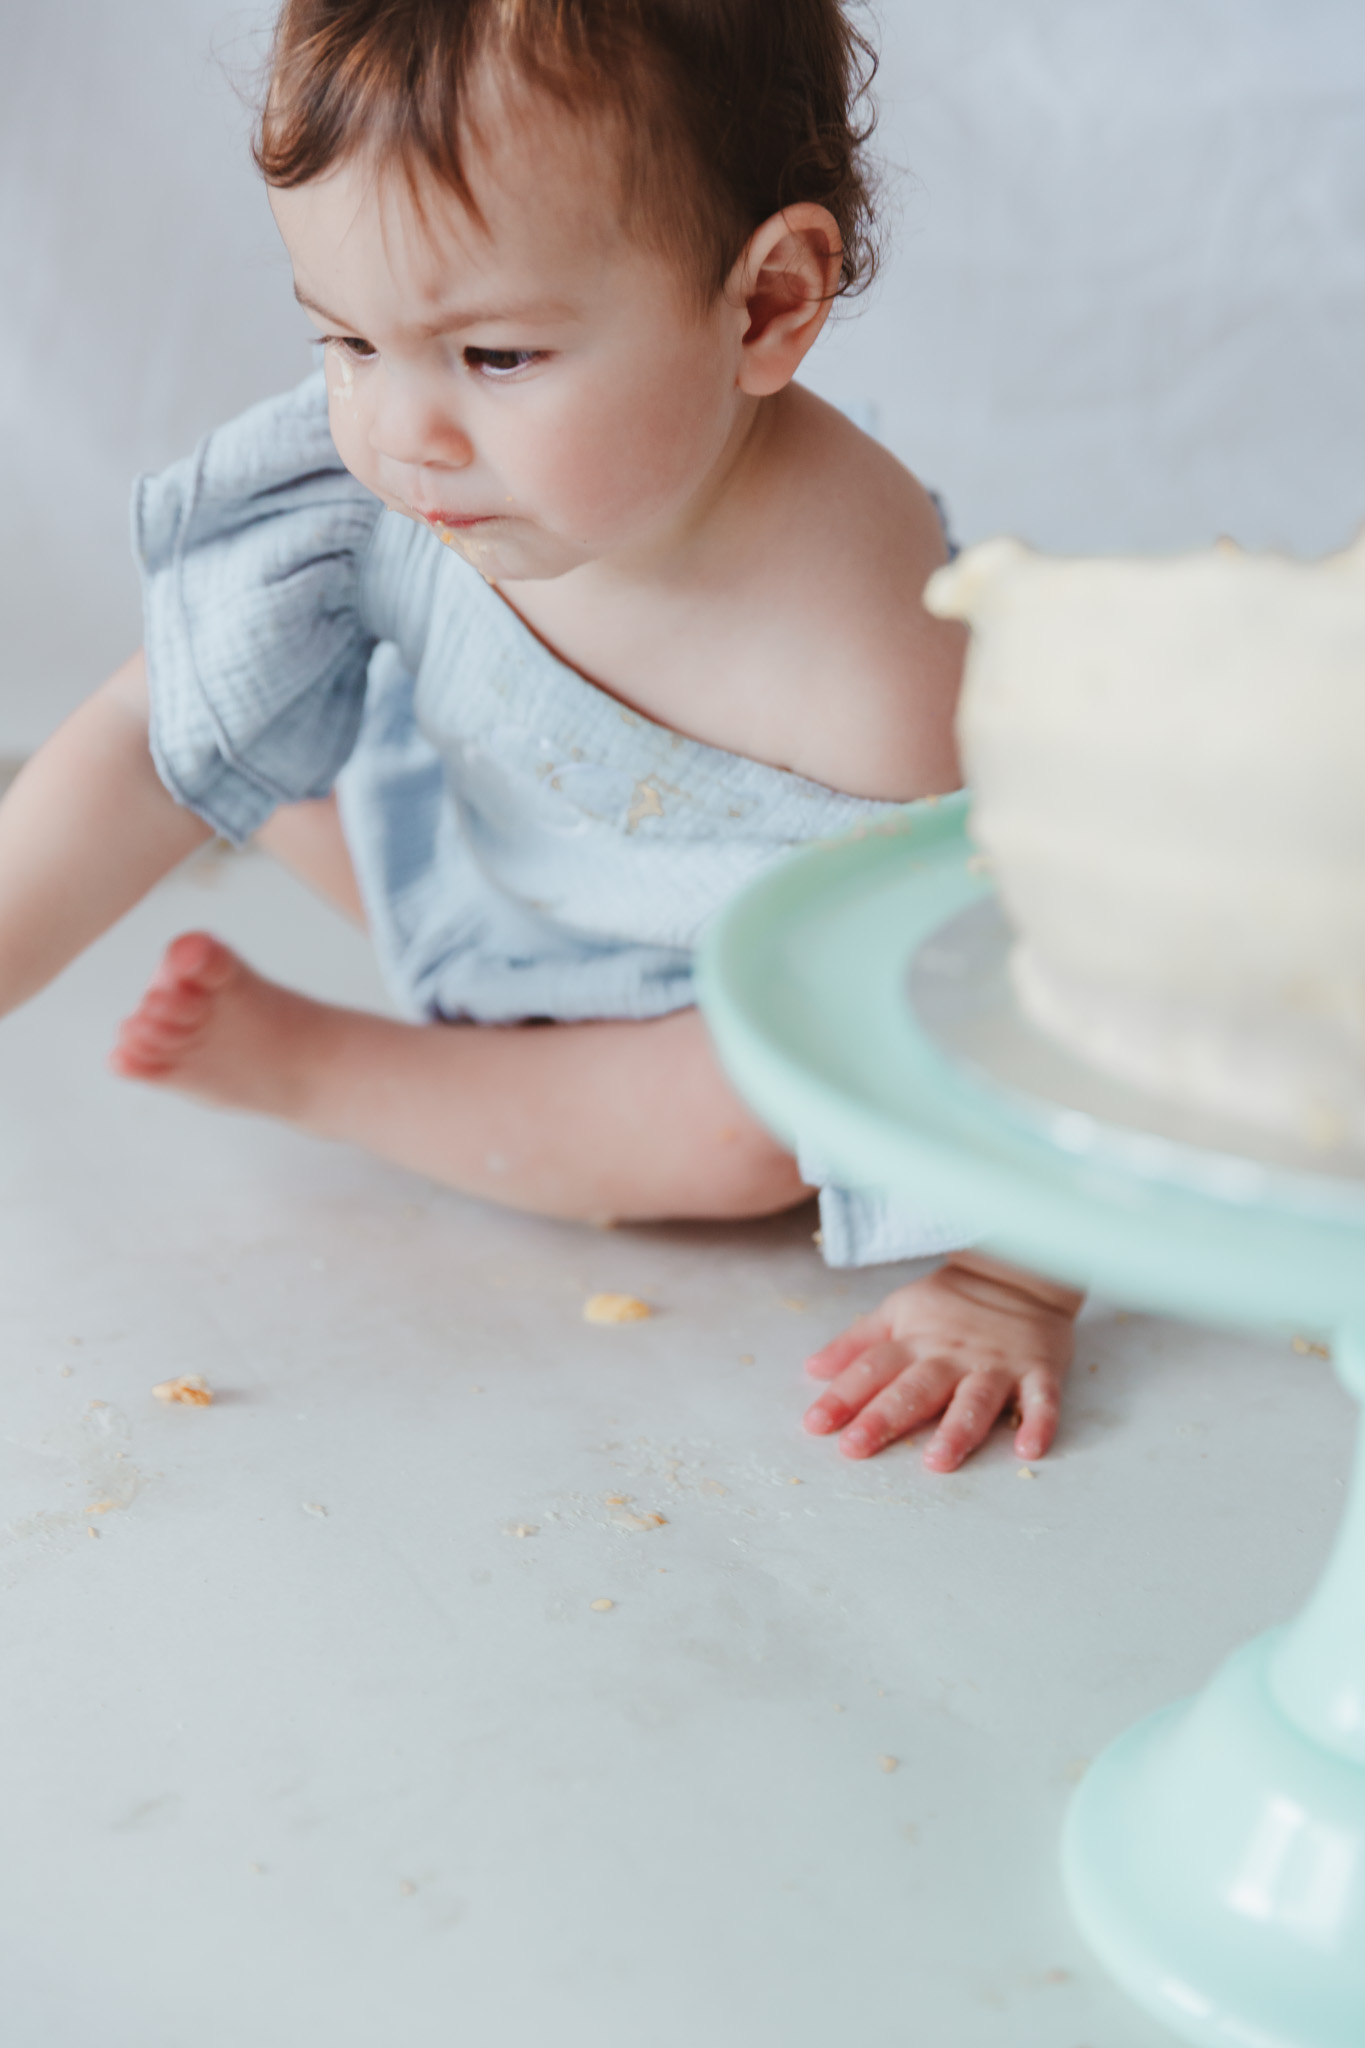
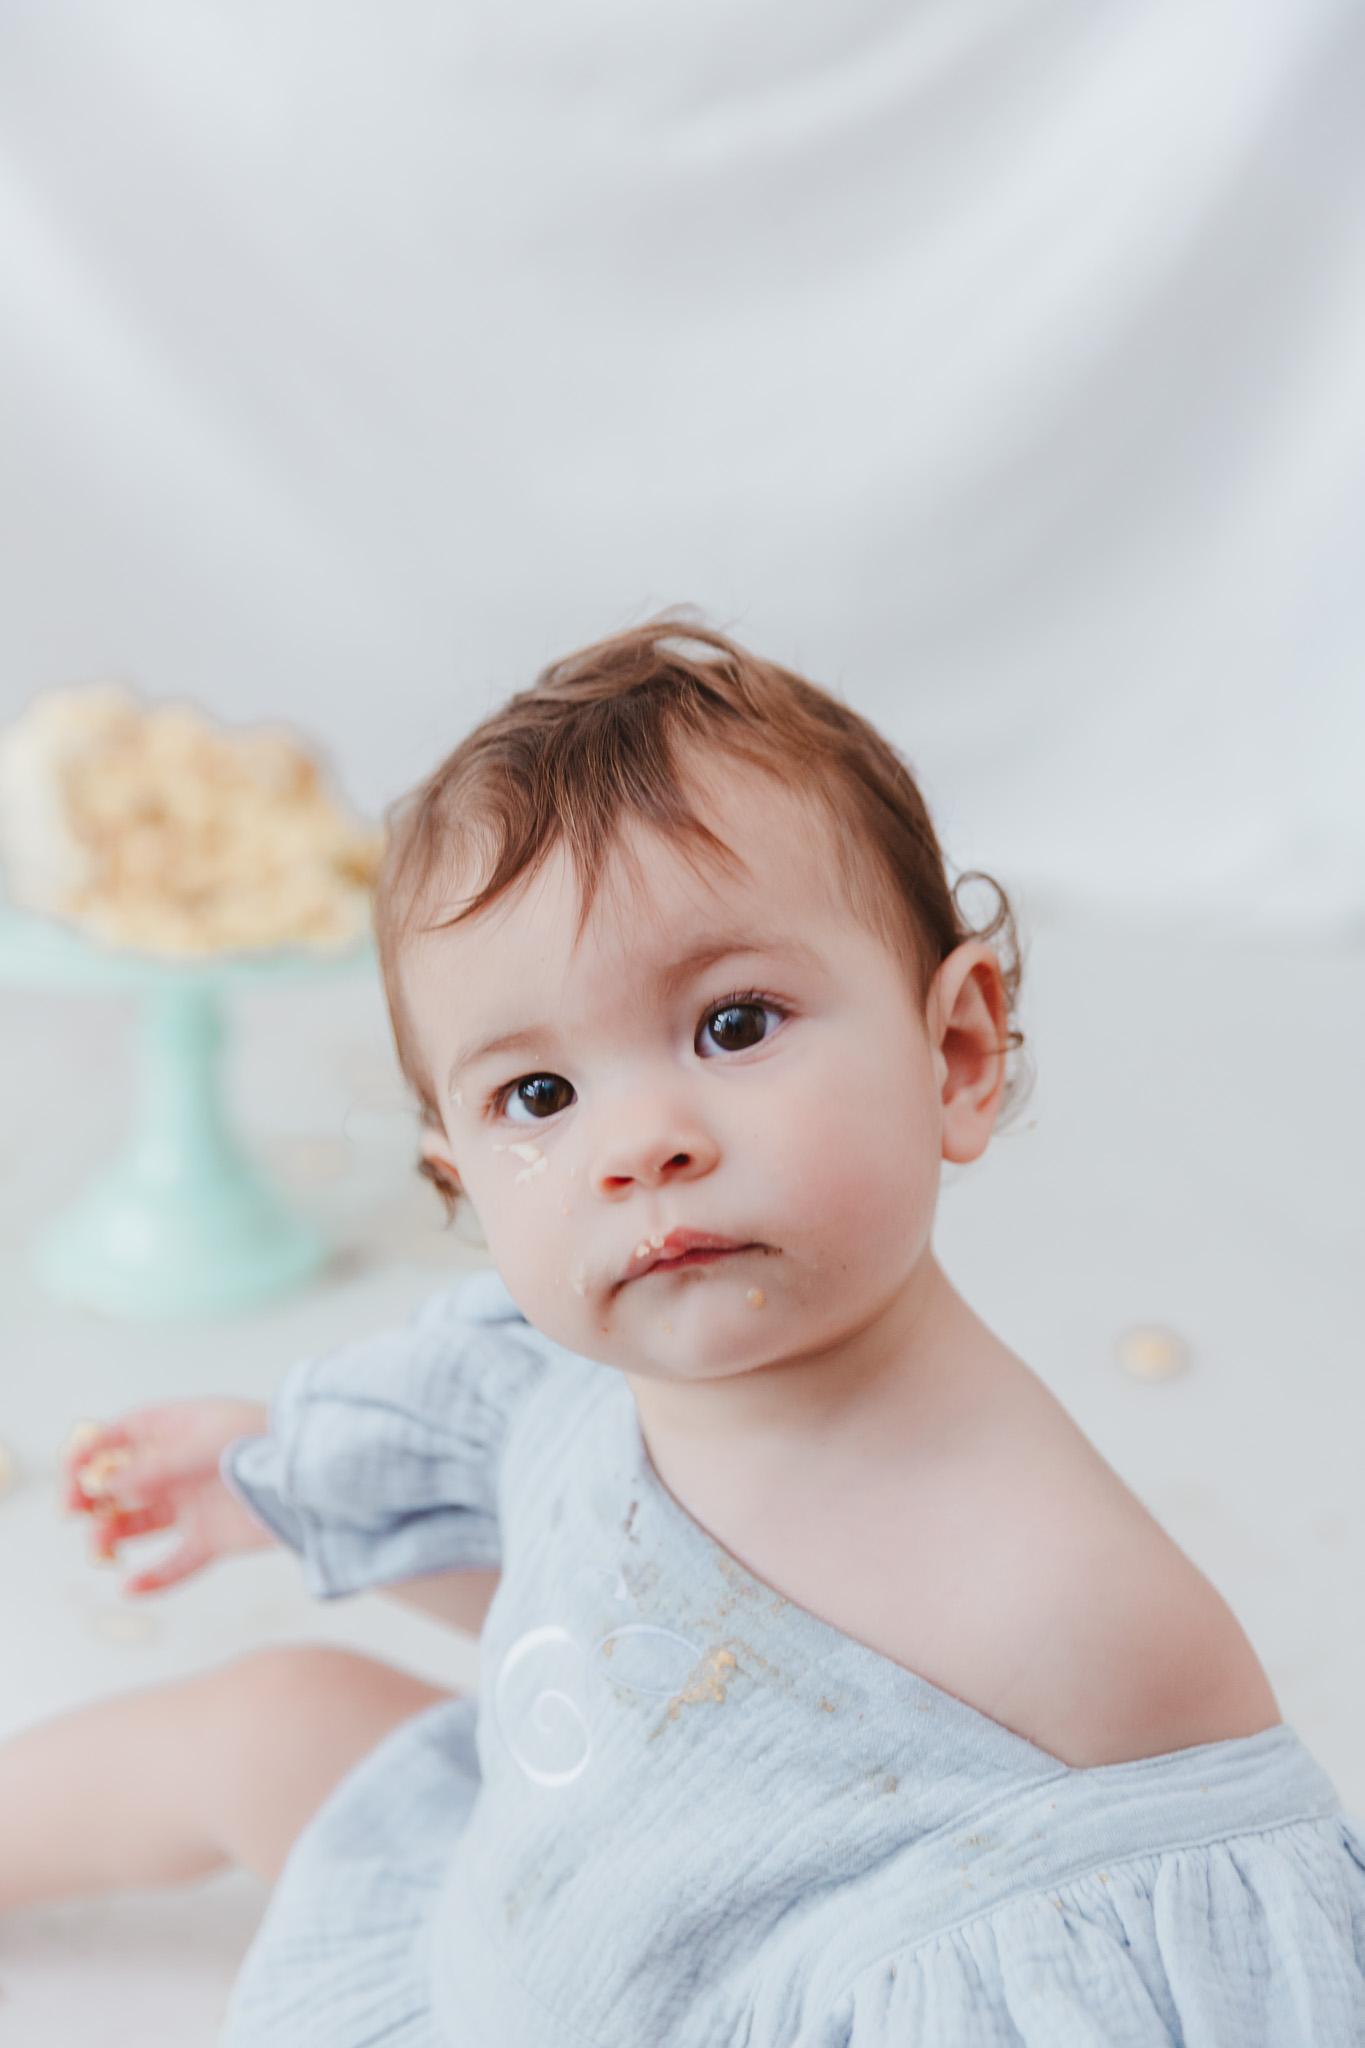
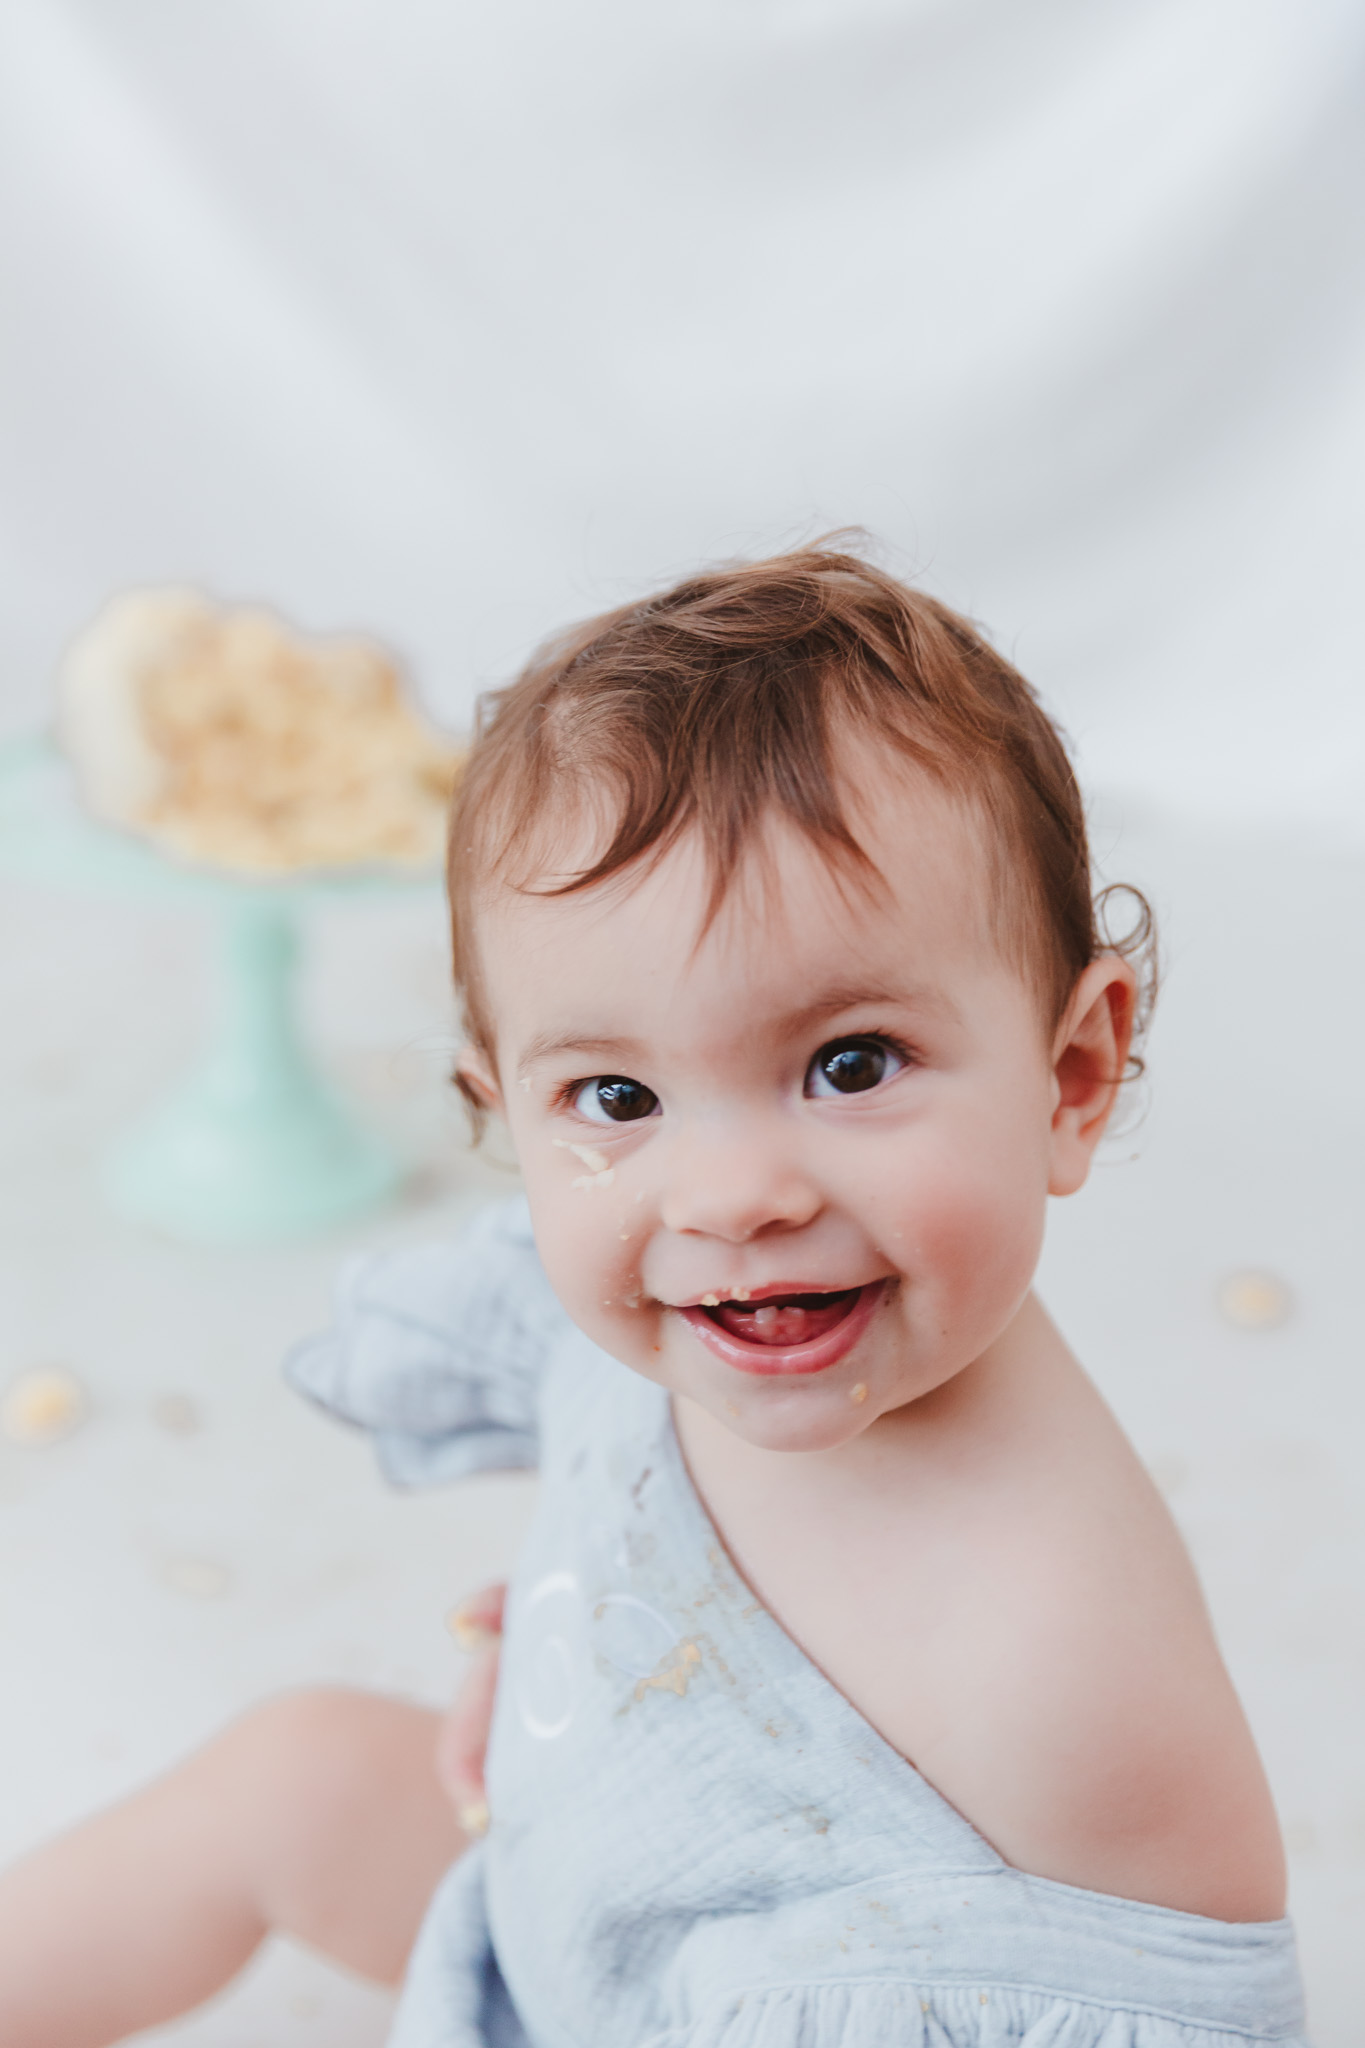
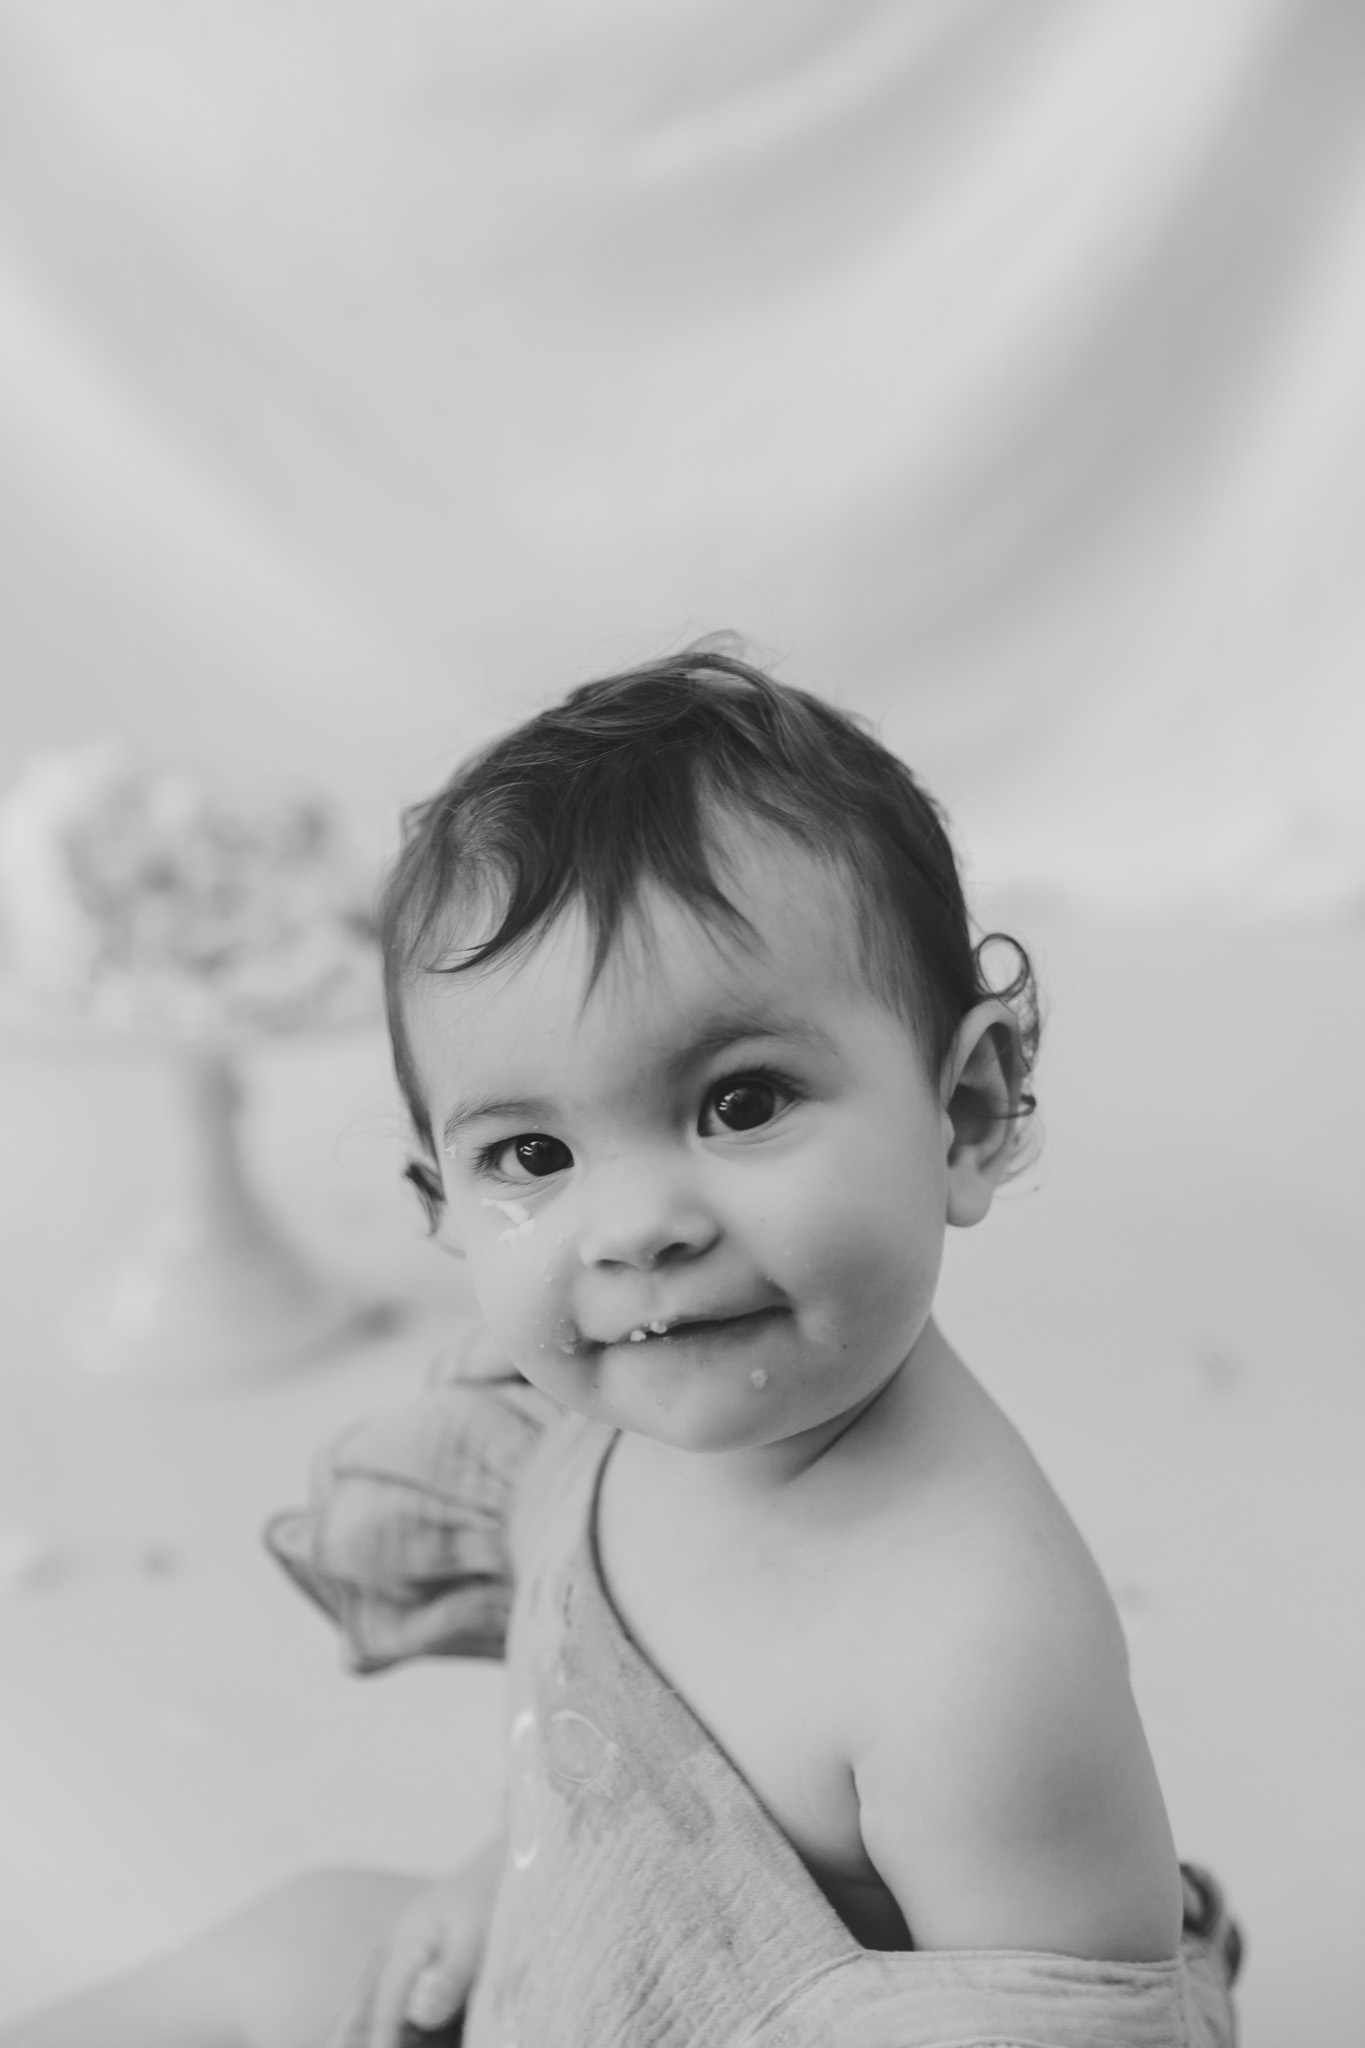
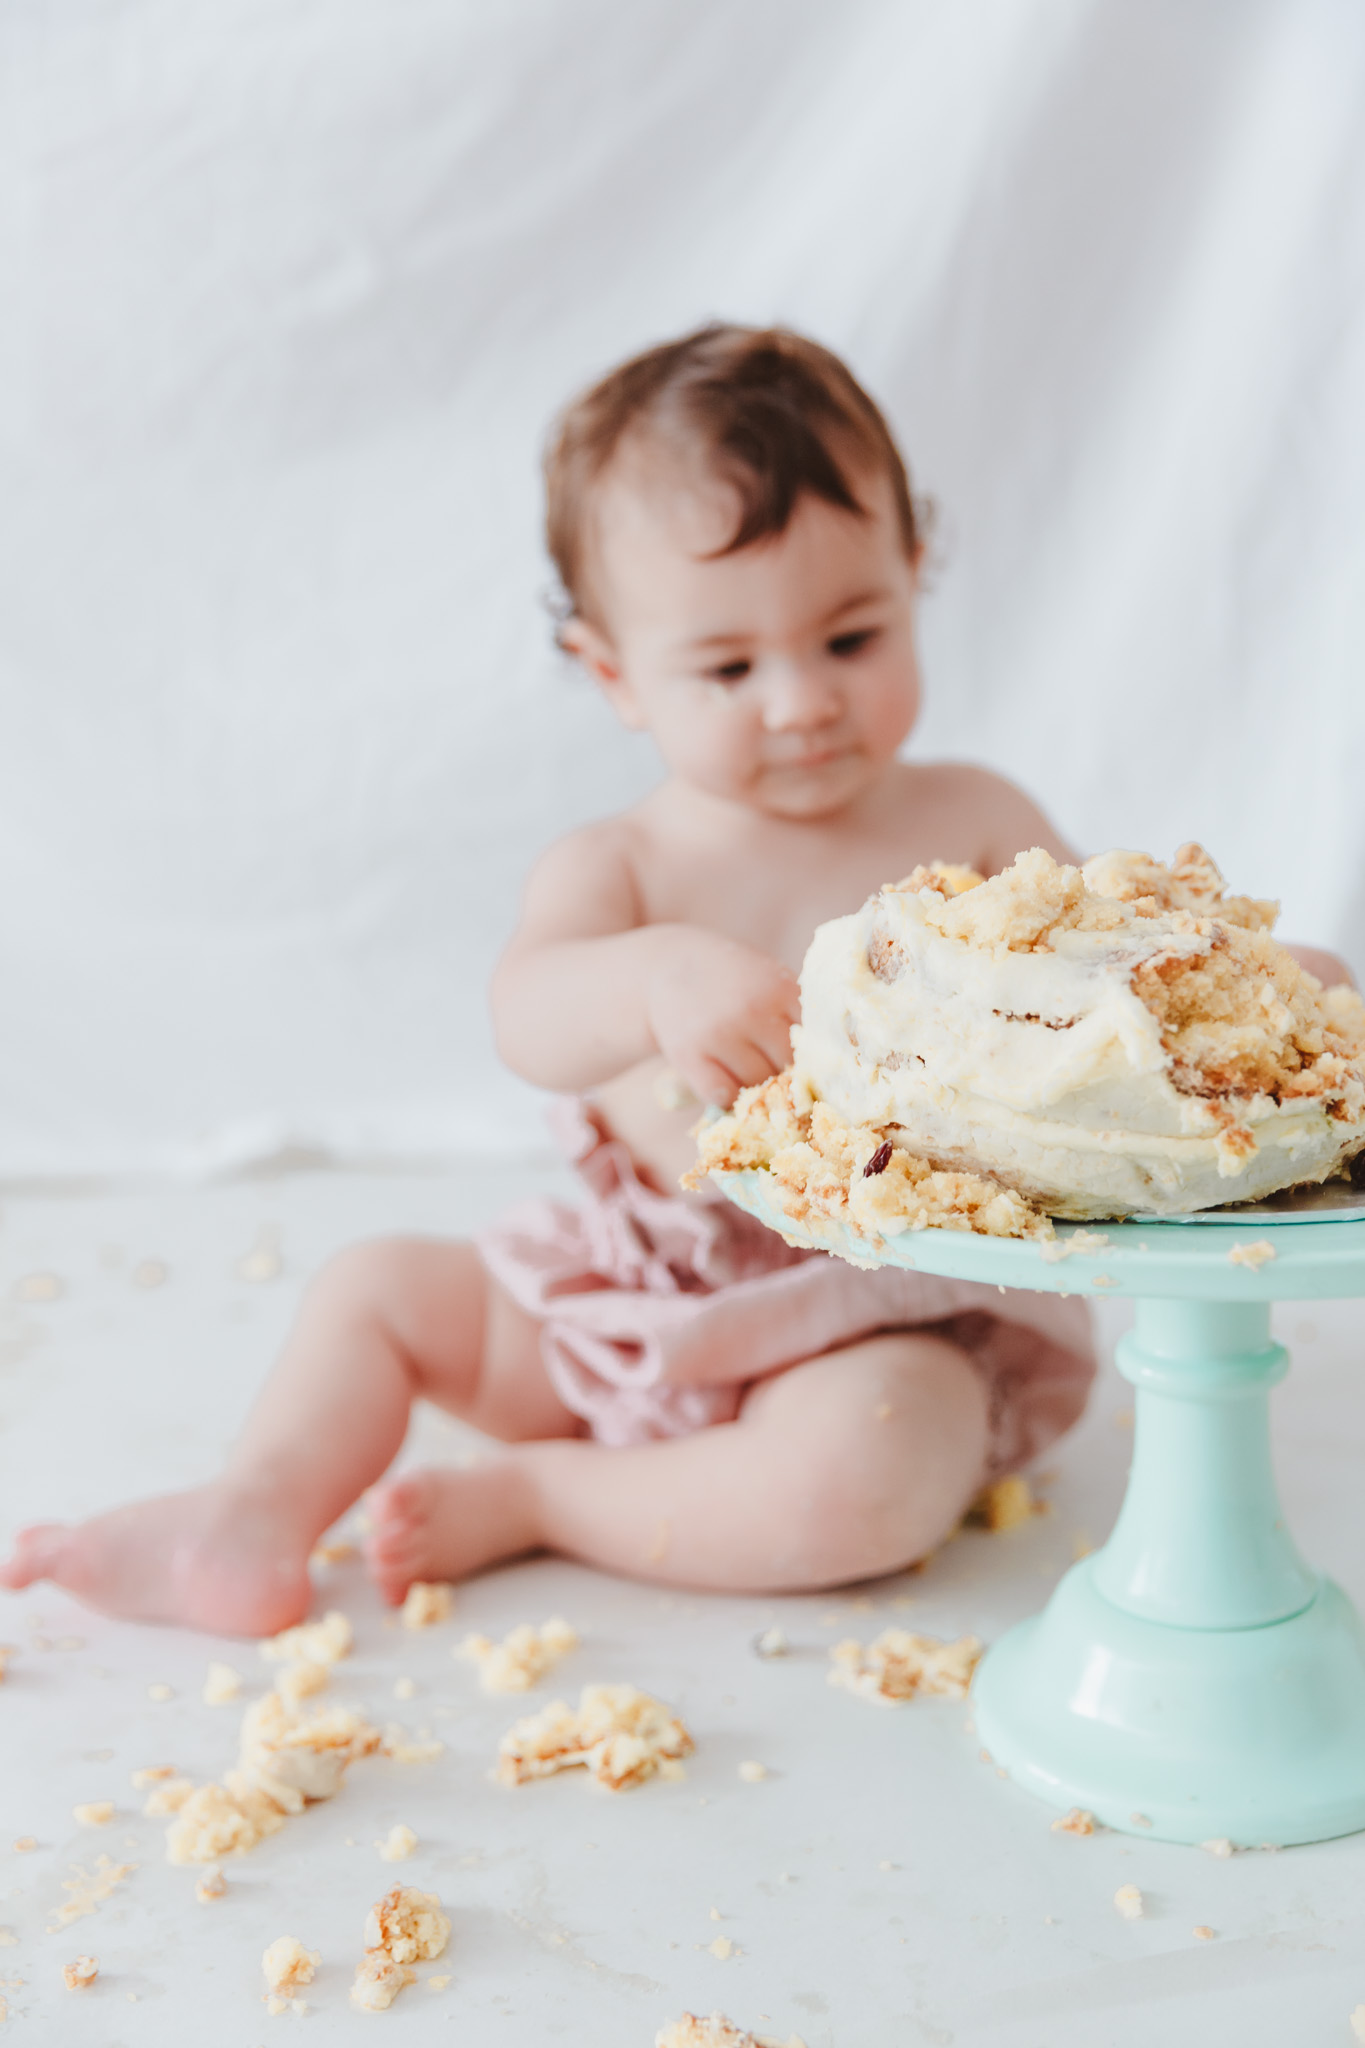
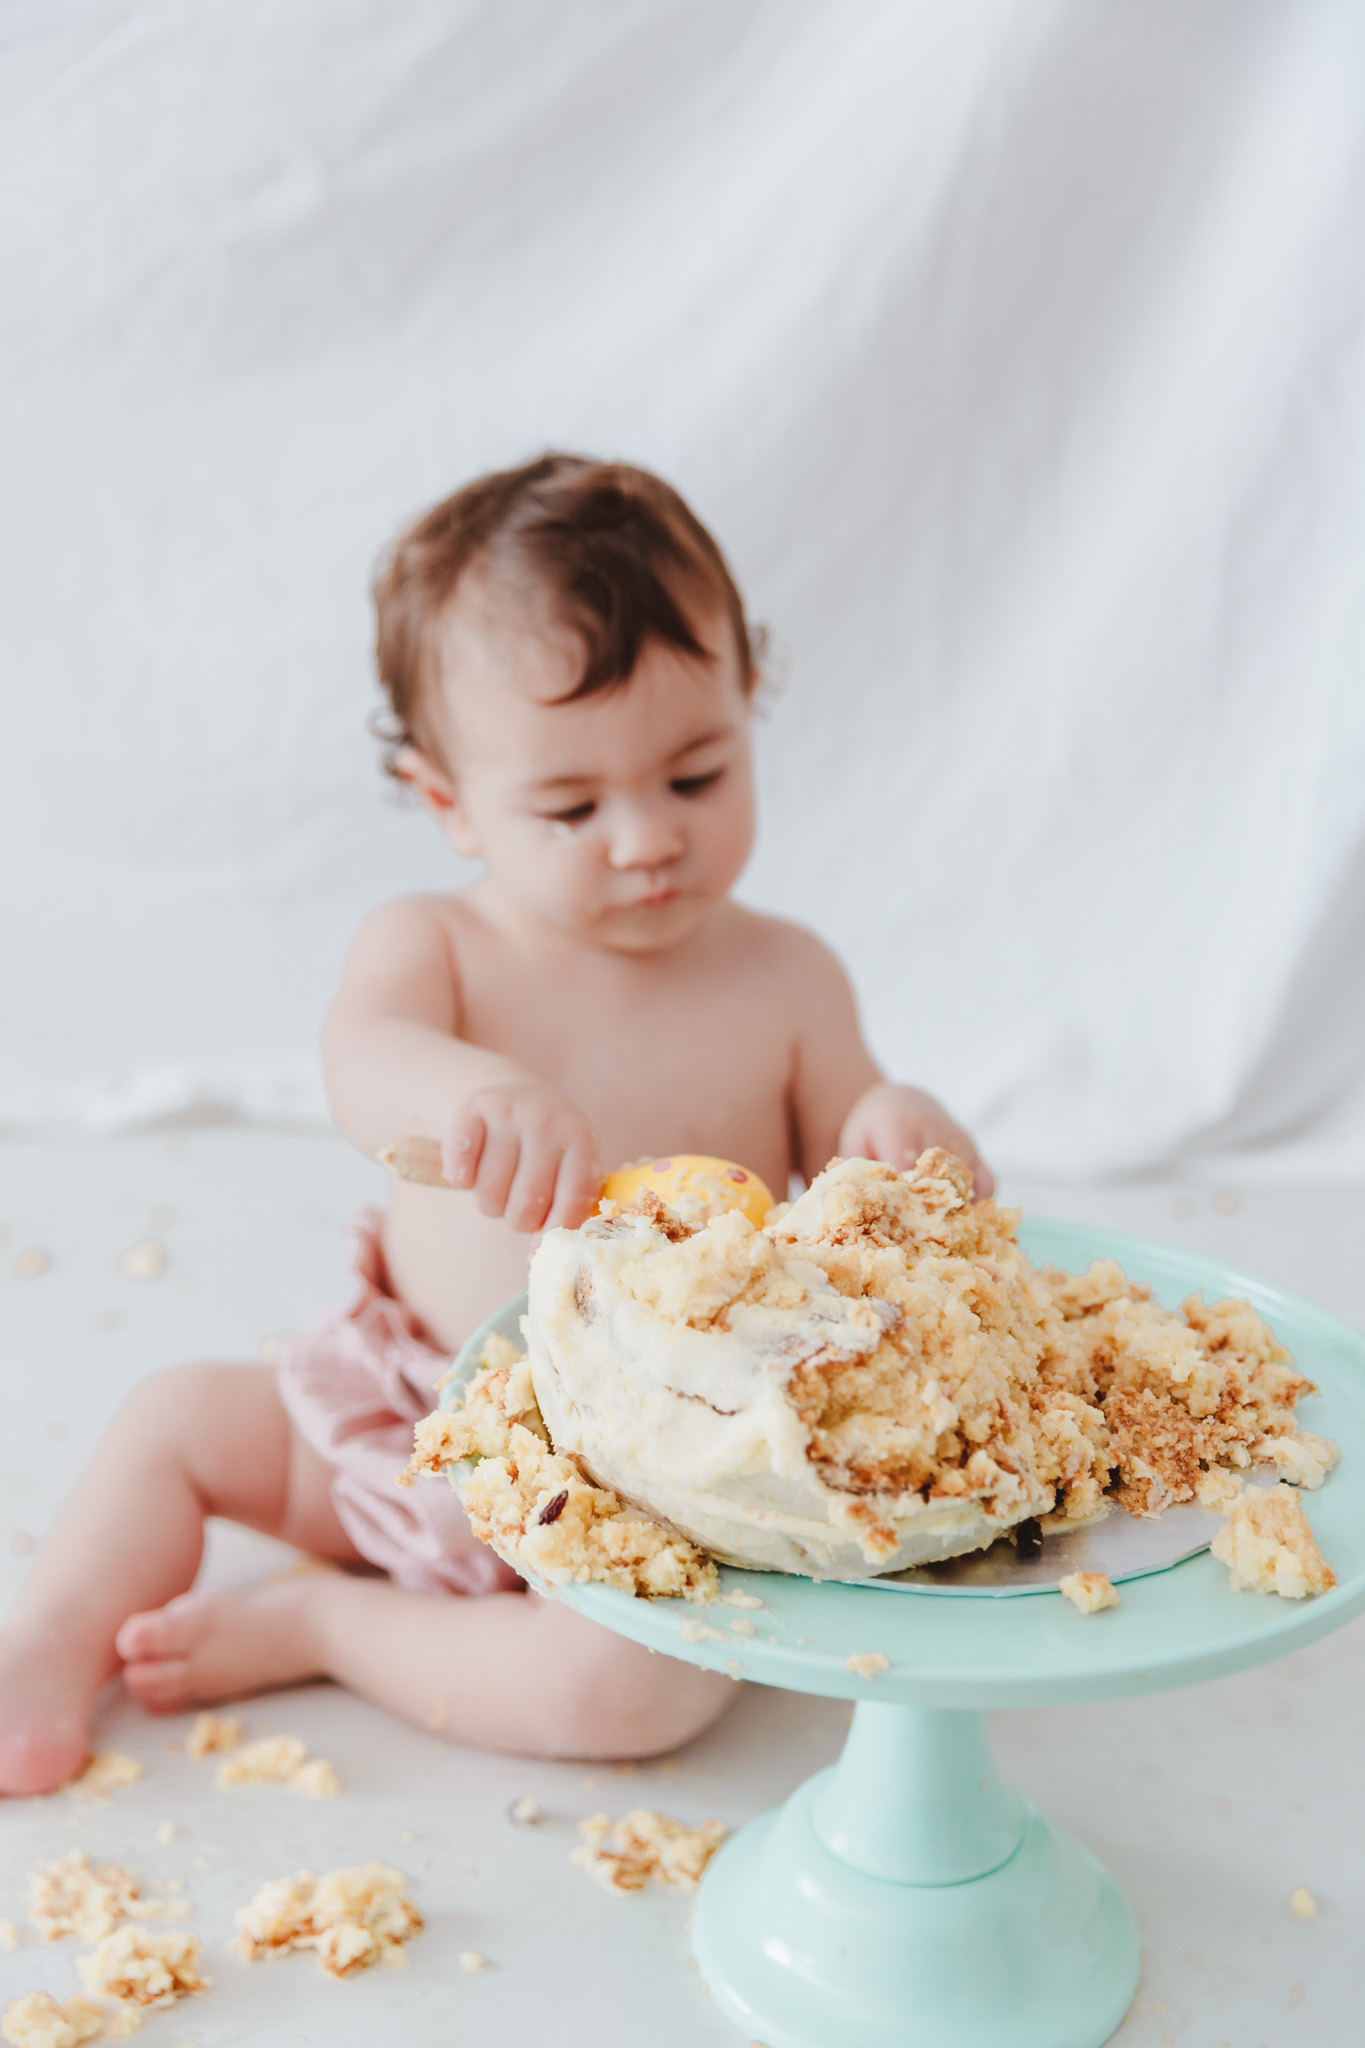
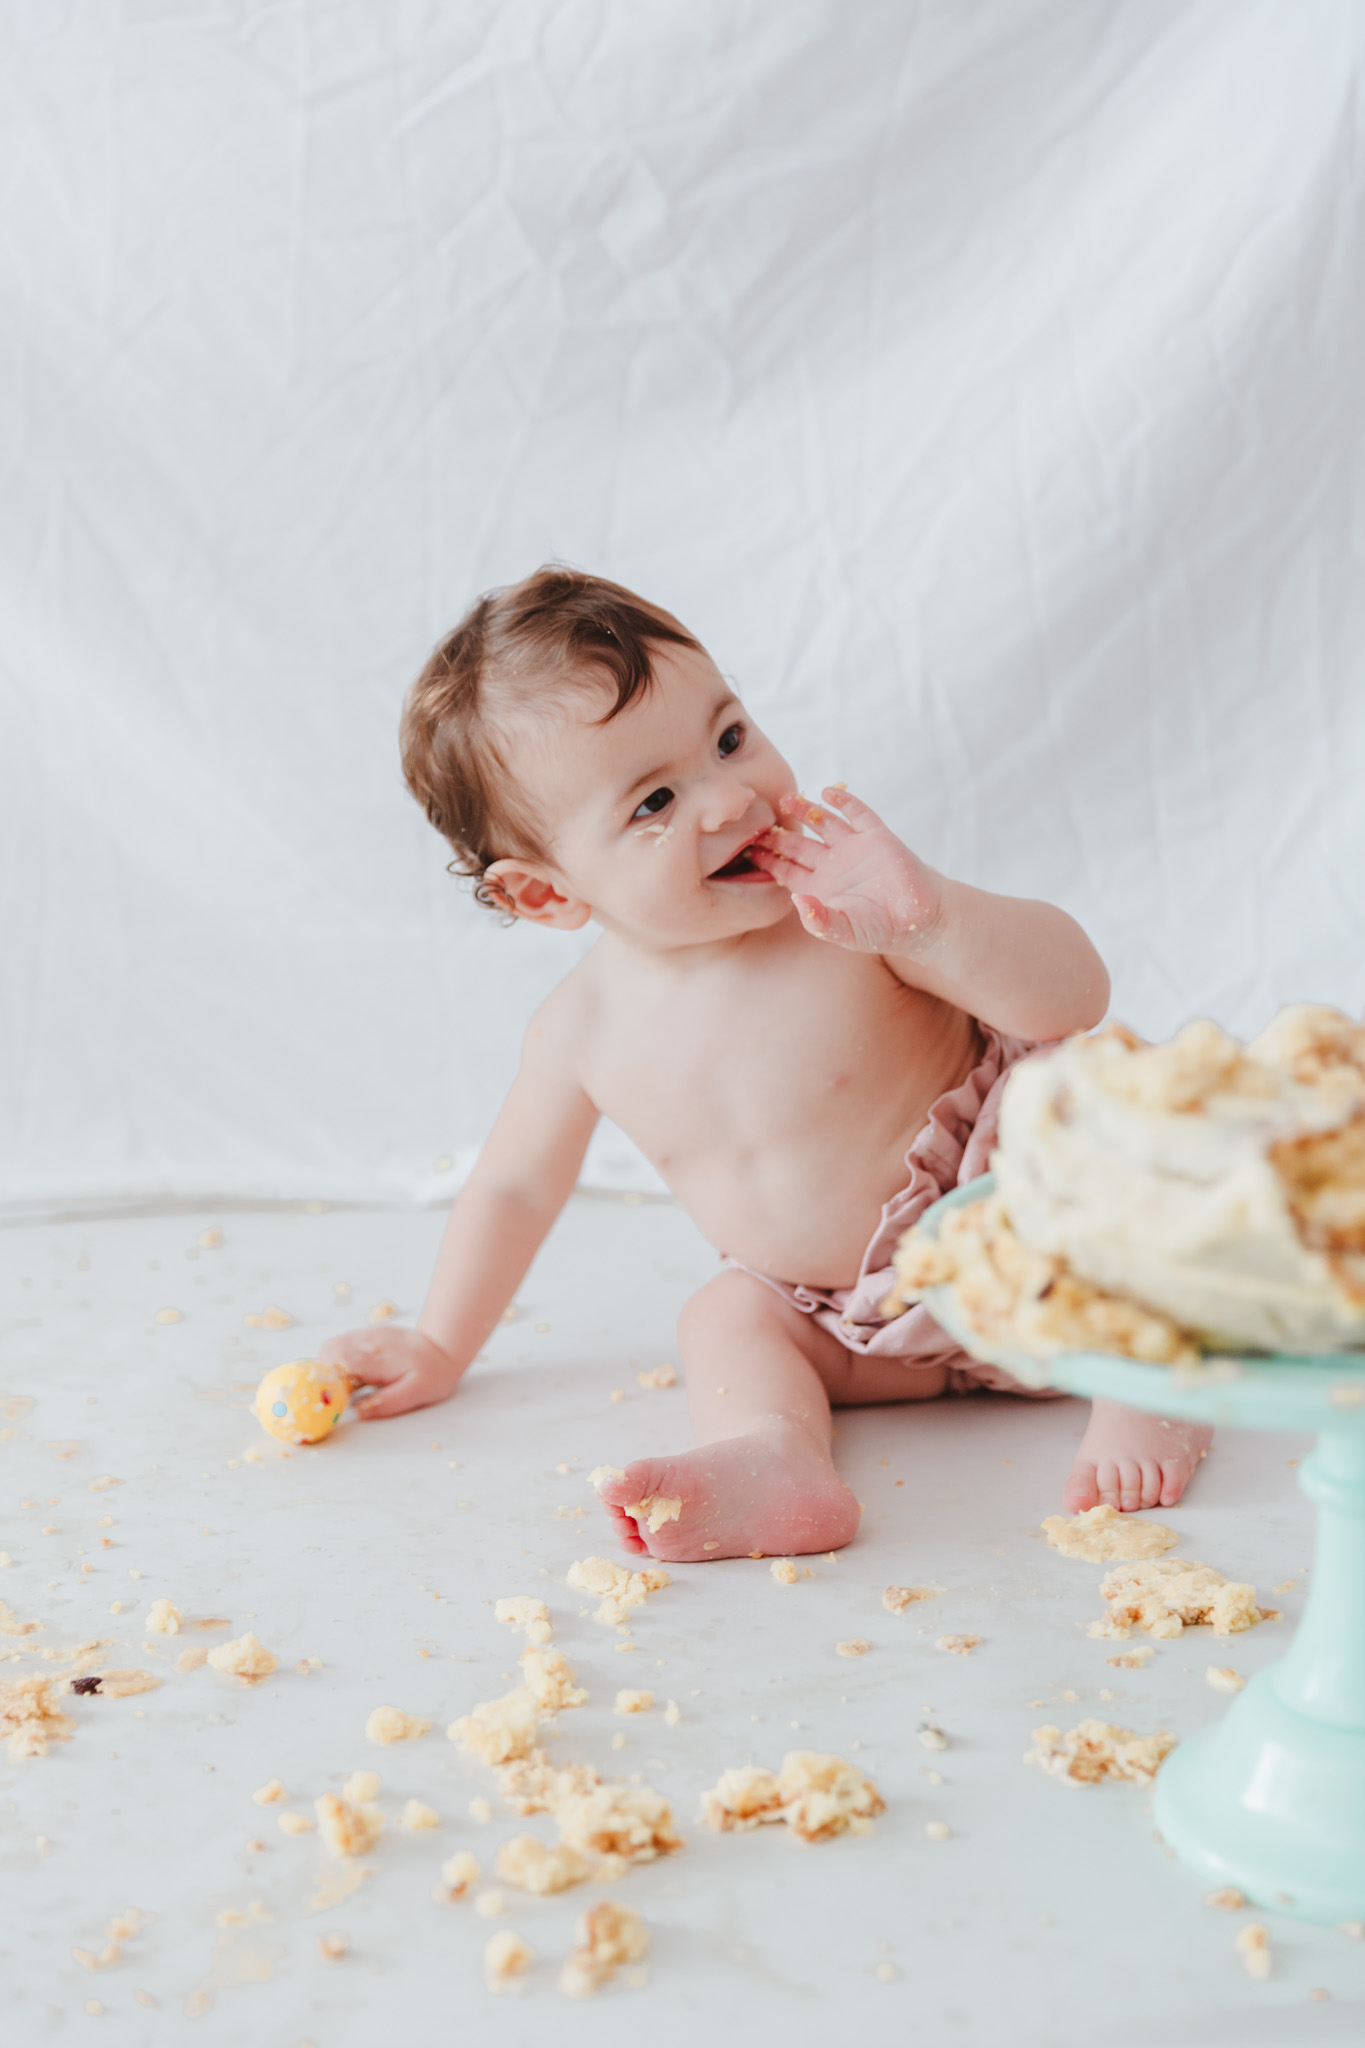
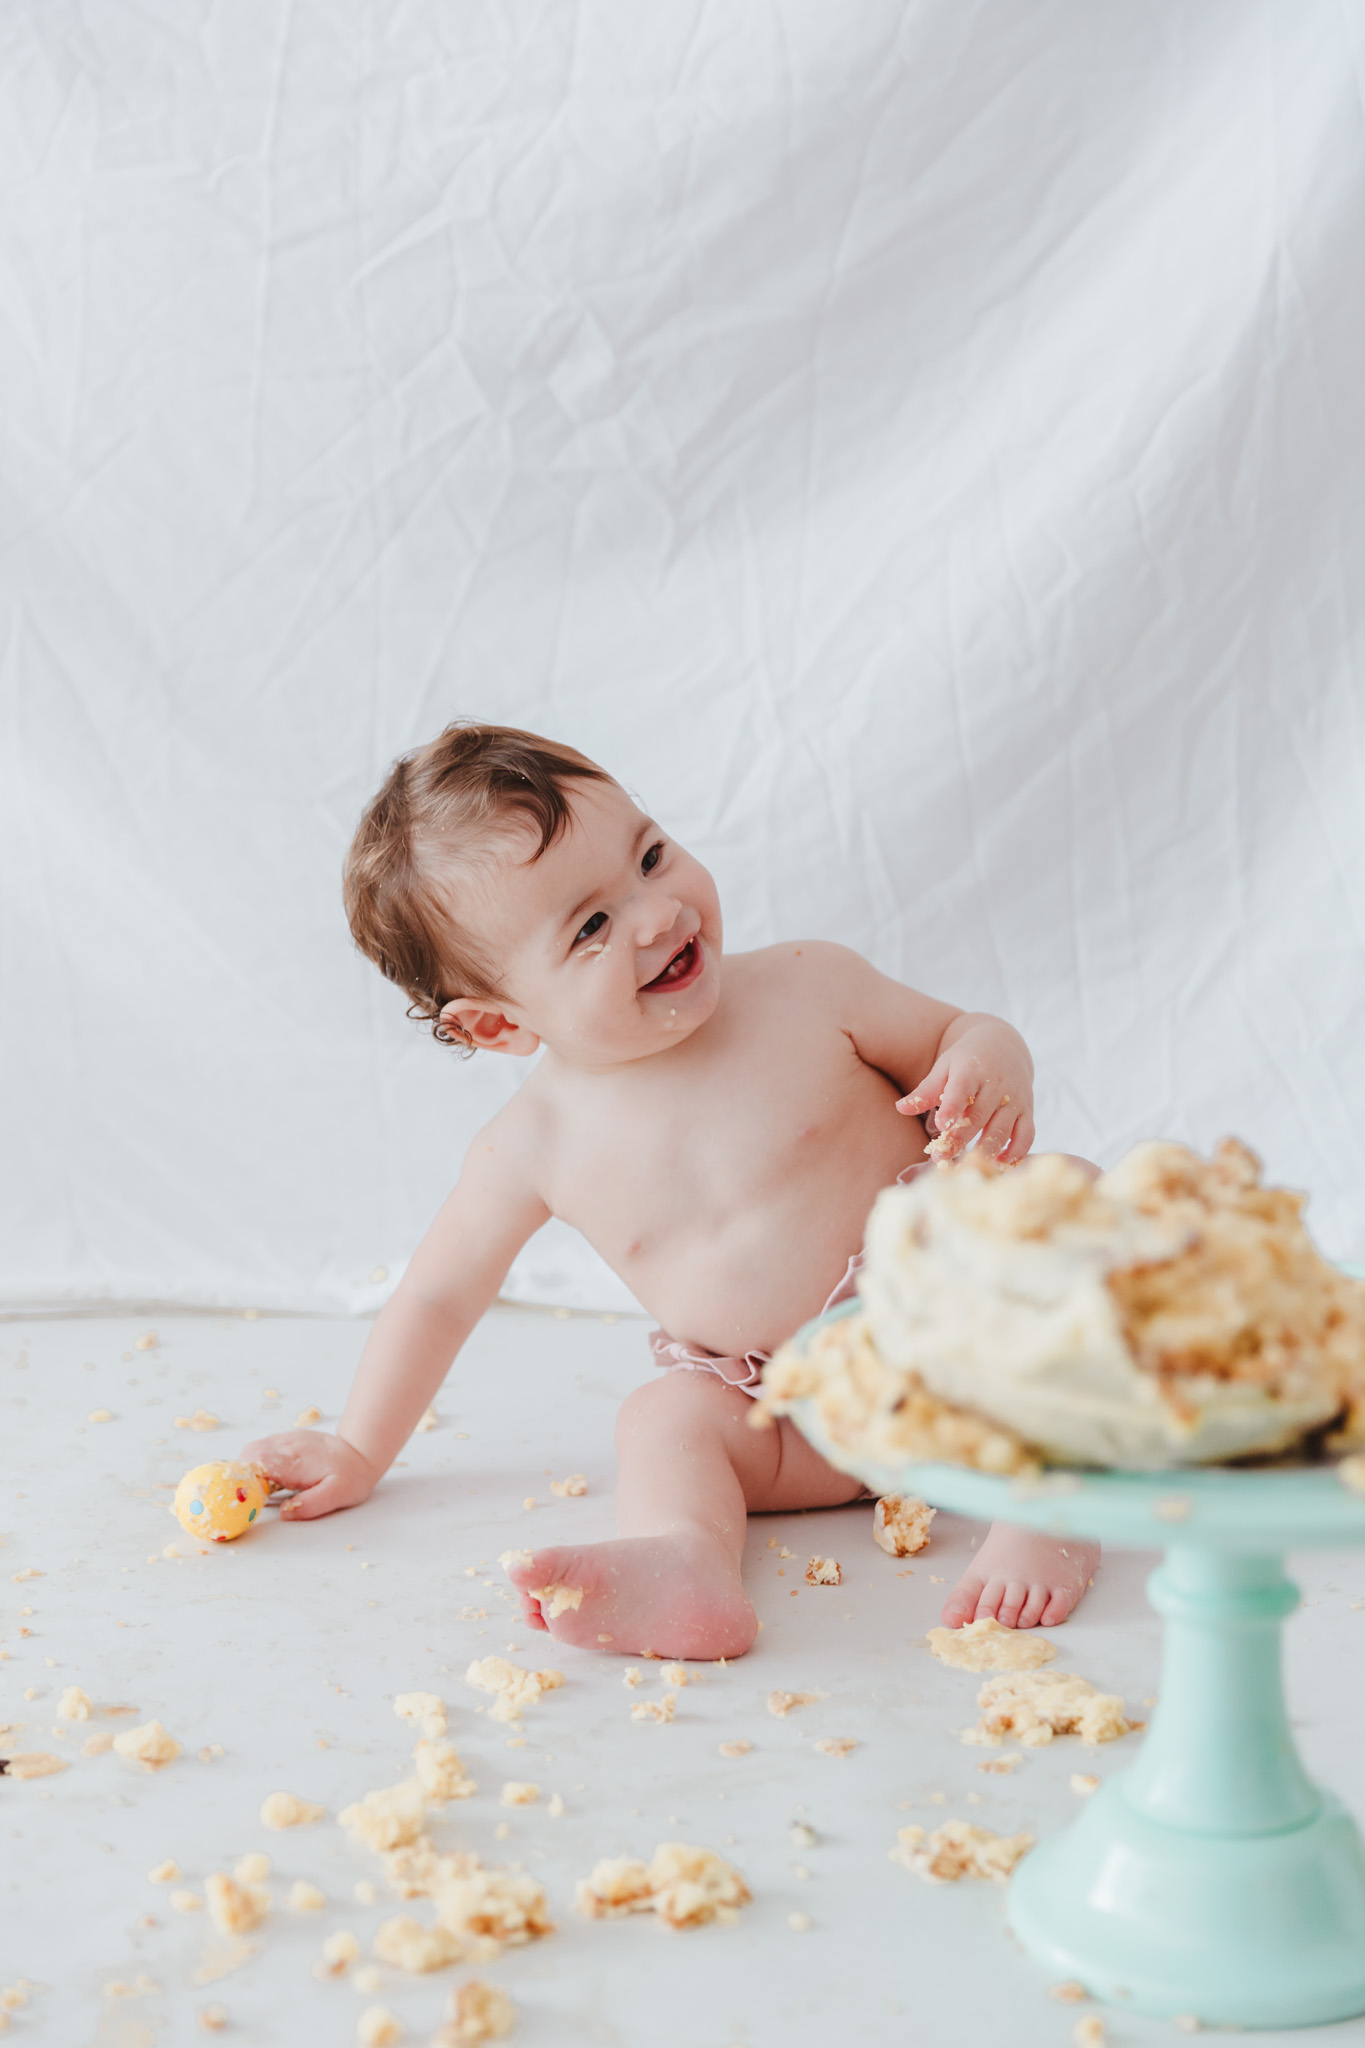
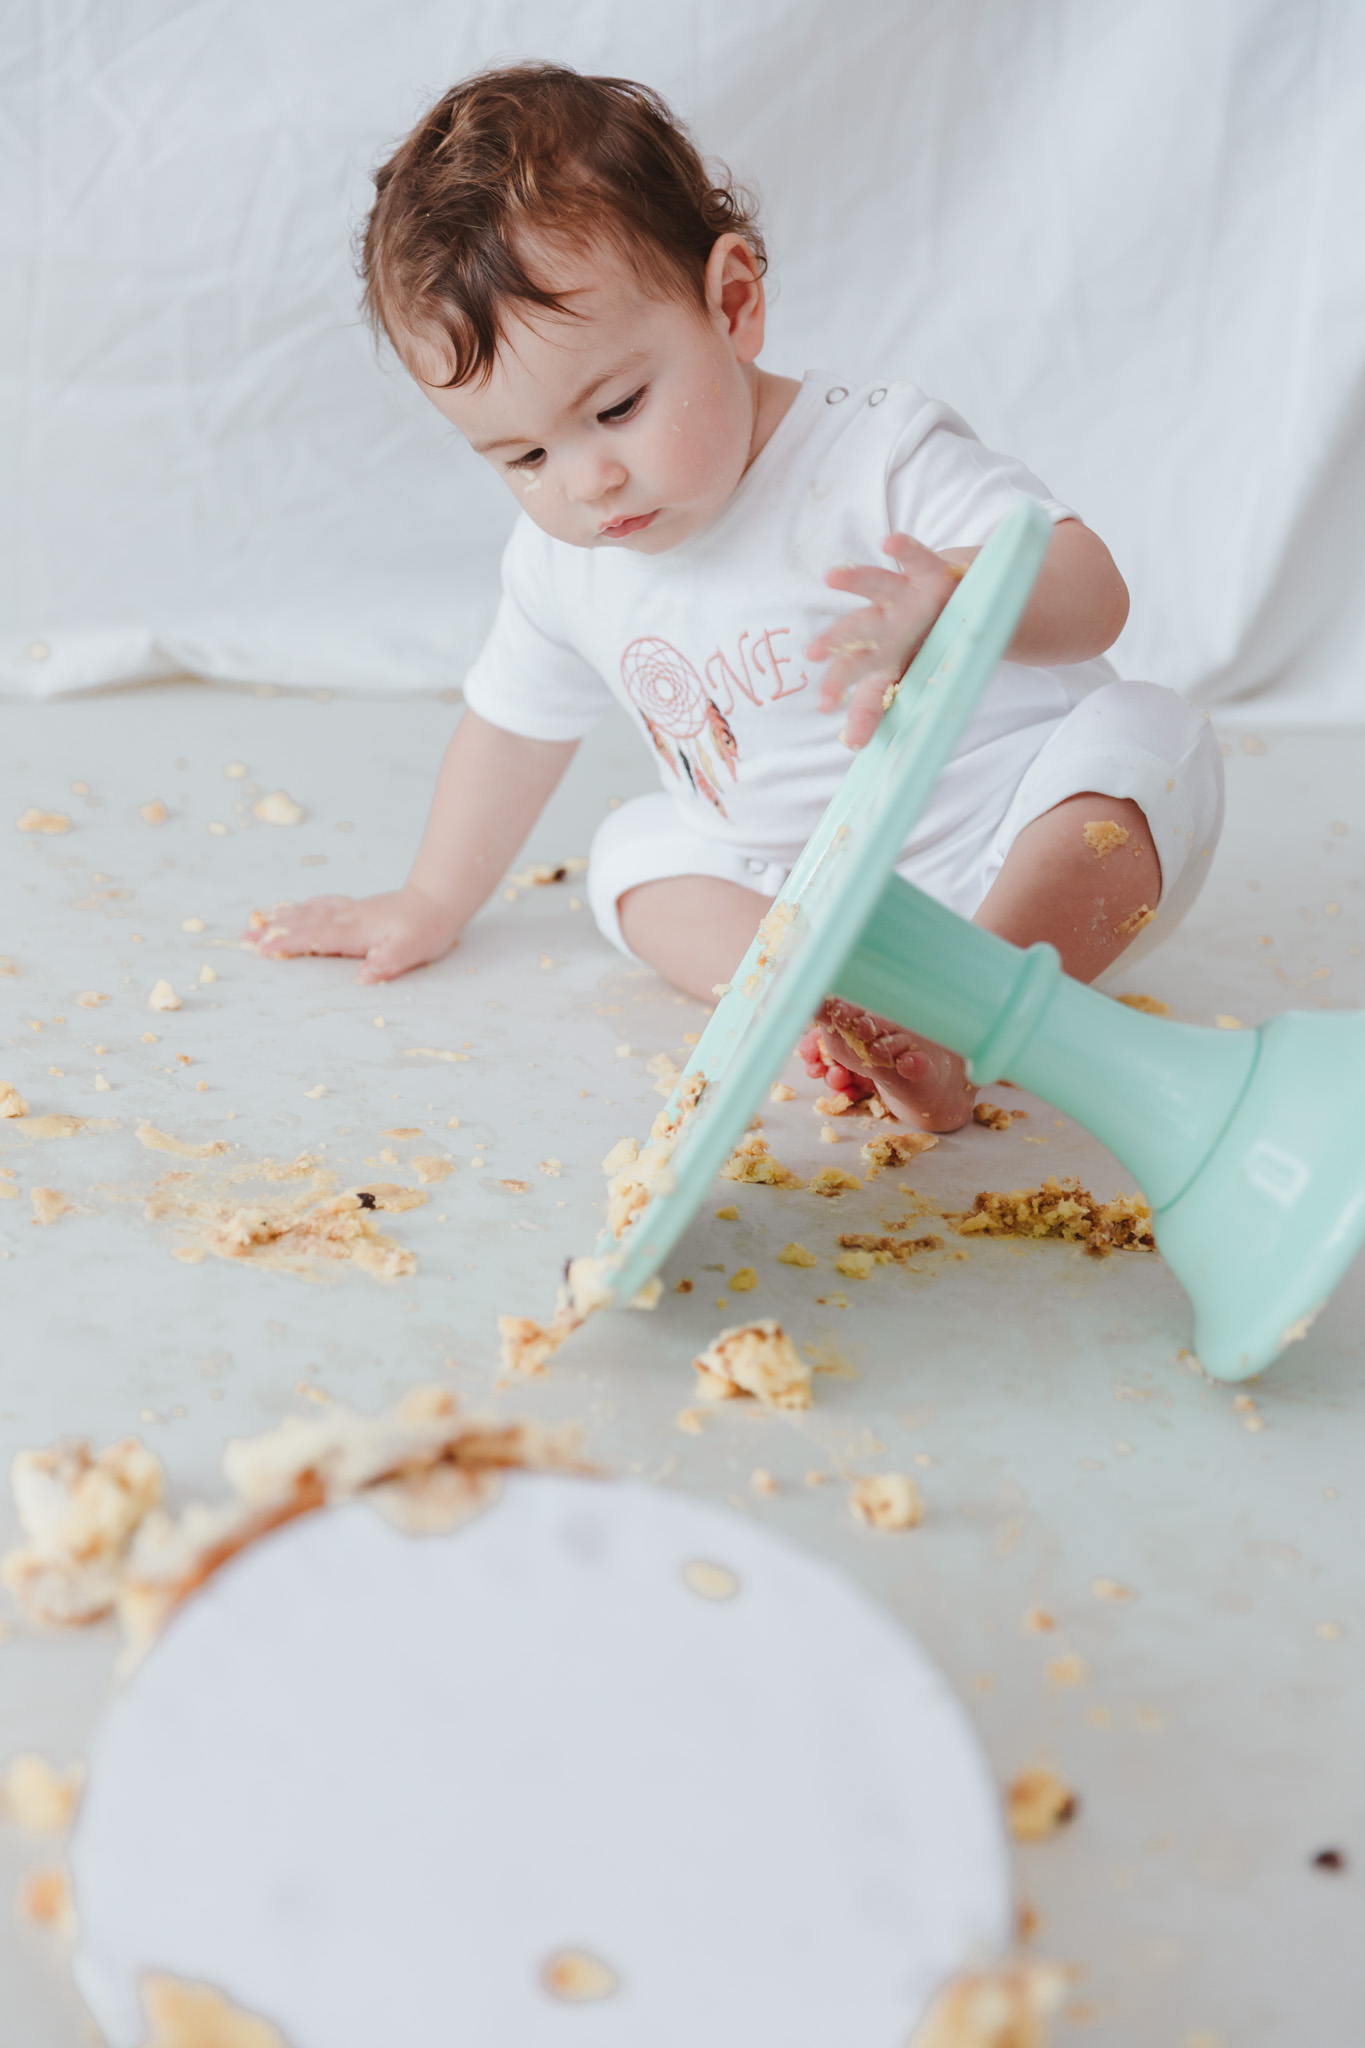
Before little Emilia turned one, her mama decided to mark the special occasion with a fun and memorable cake smash session.
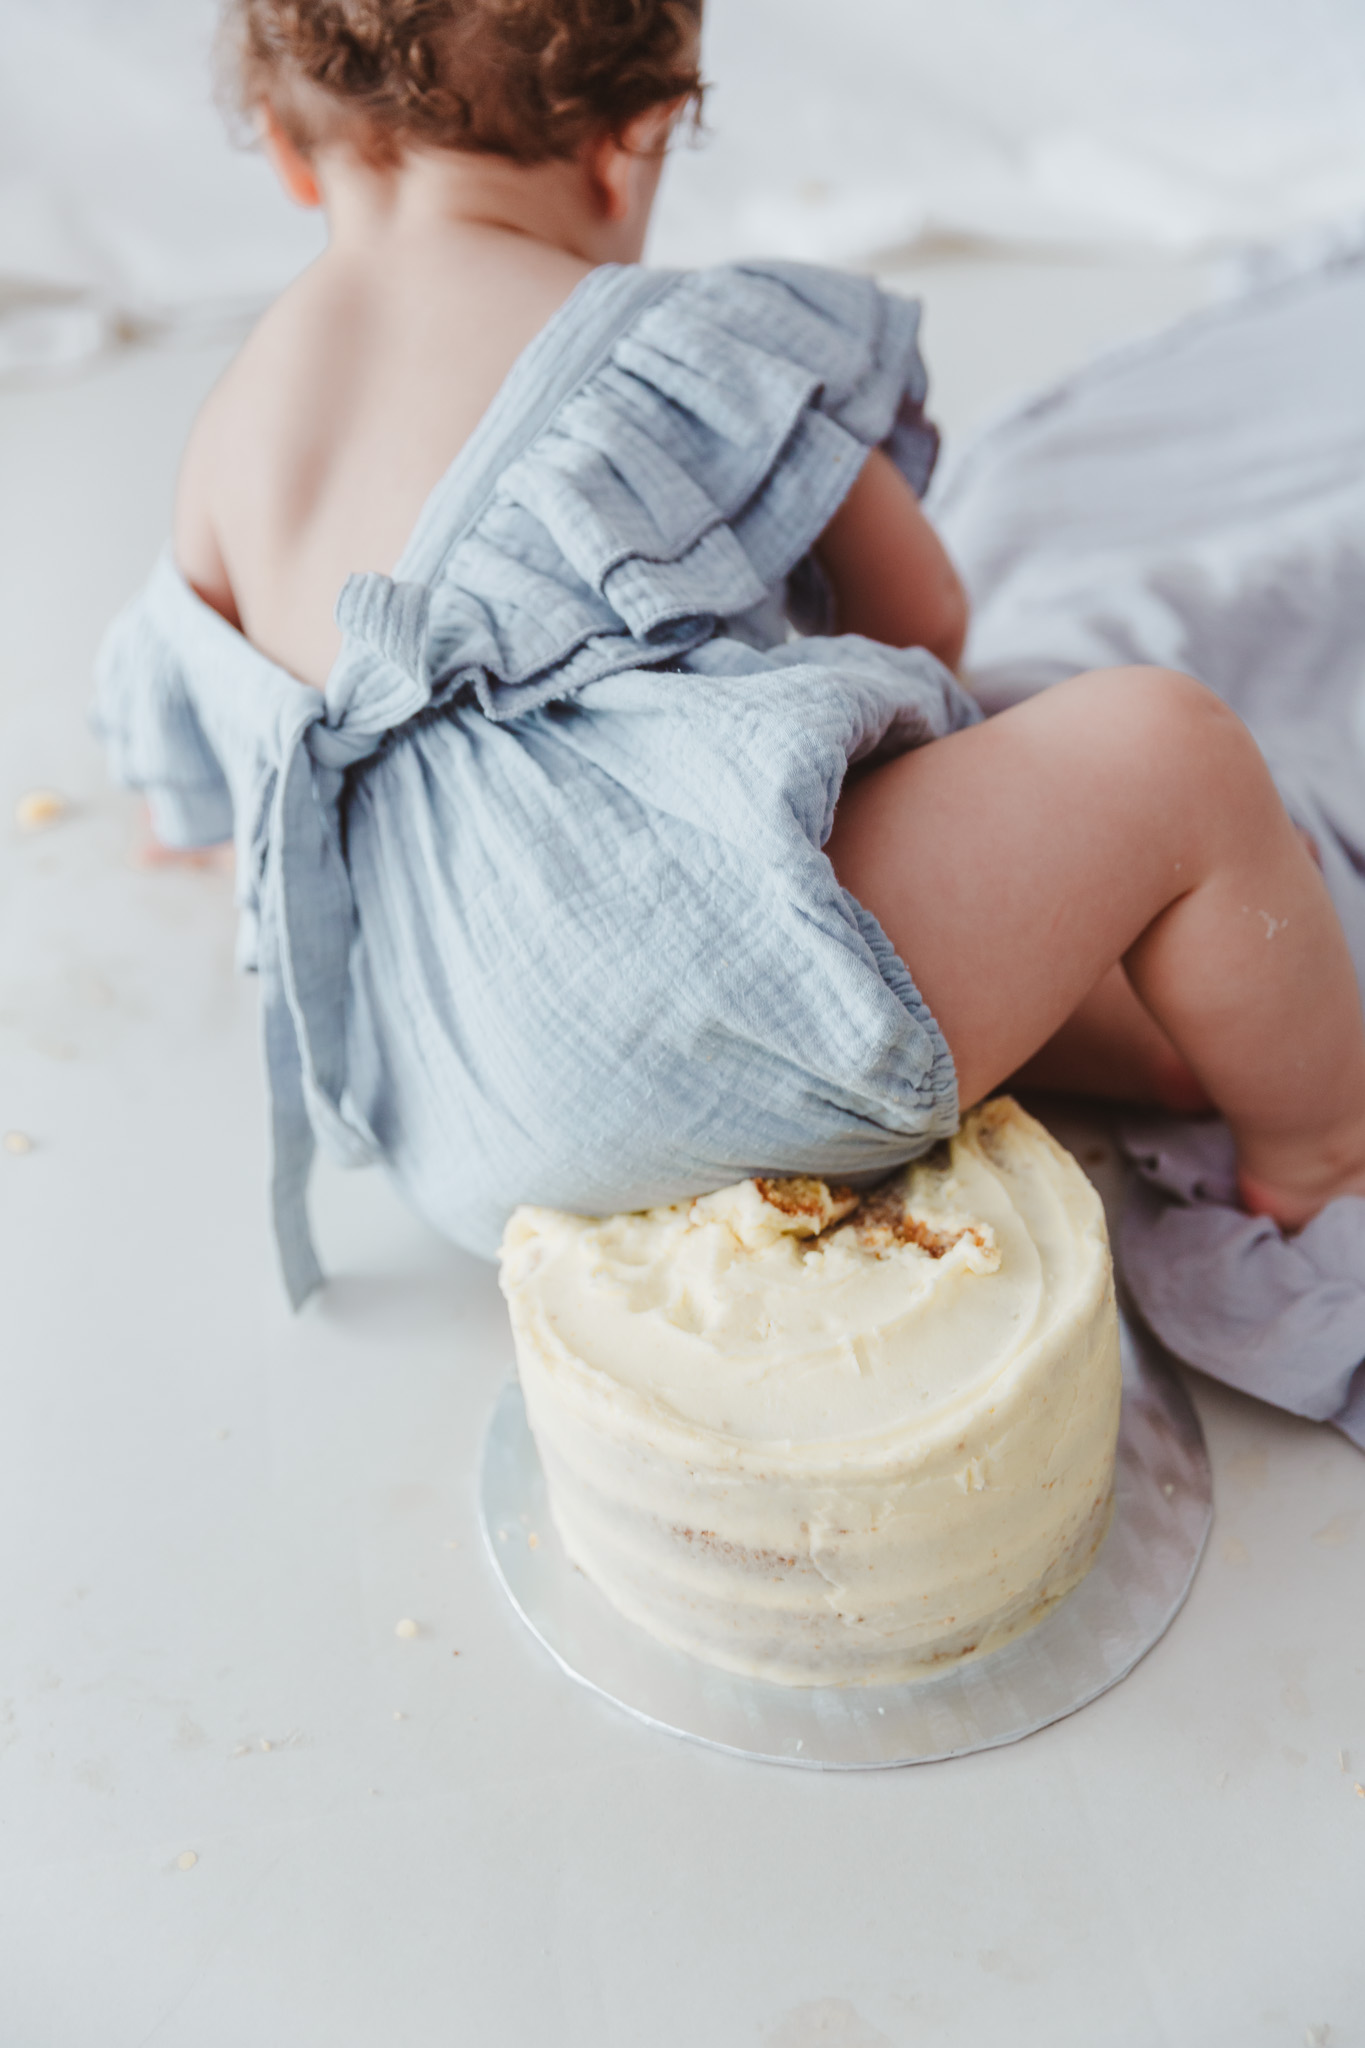
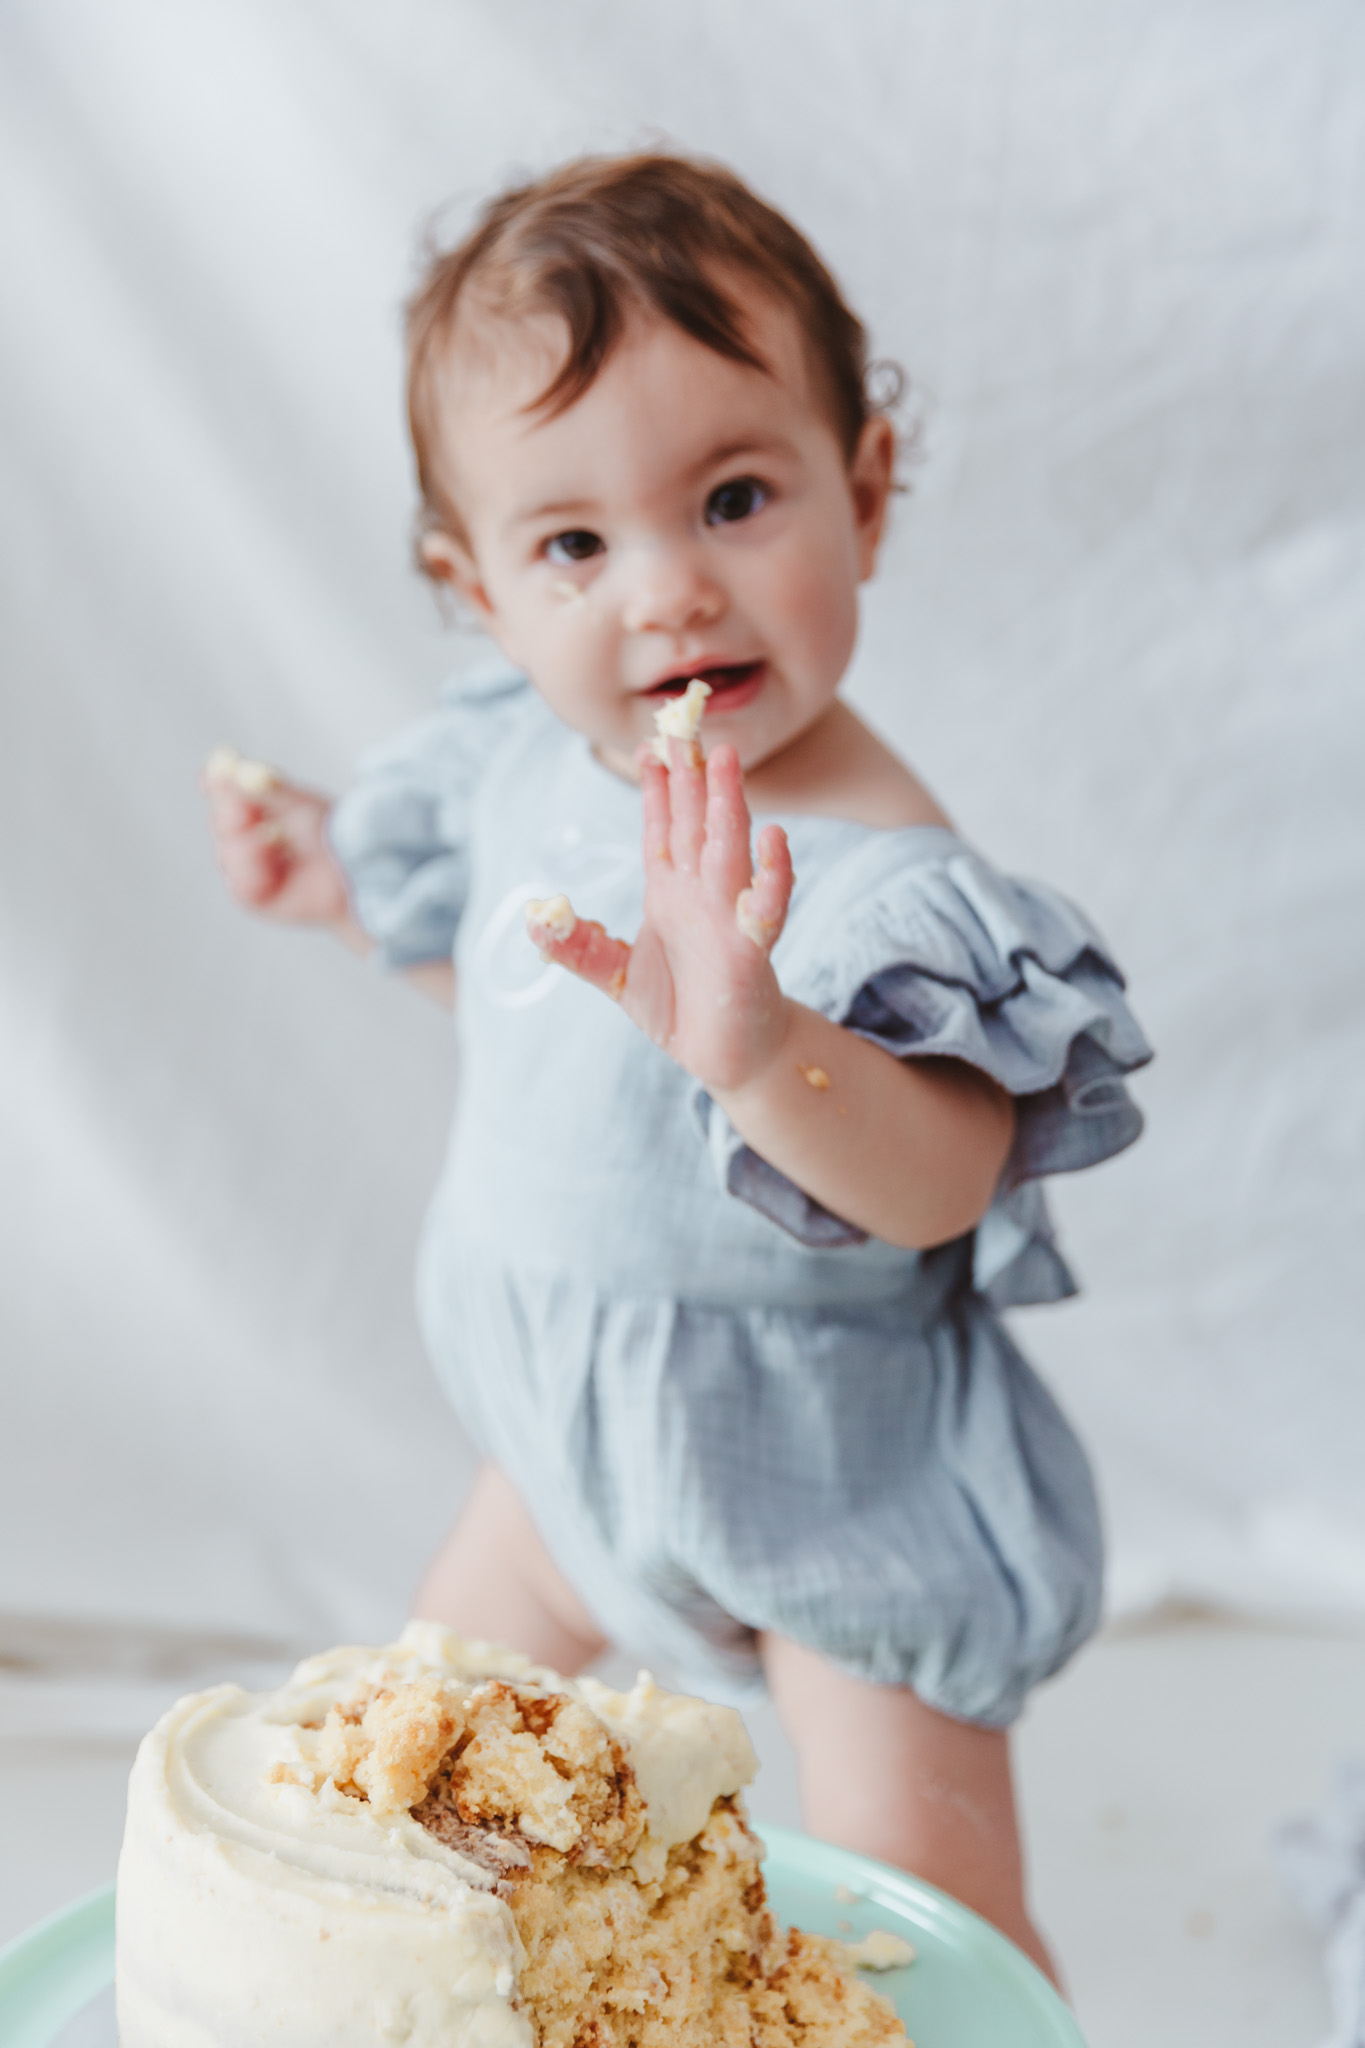
Cake smash sessions have become a popular way to celebrate a child’s first birthday, and although they can get a little messy, they are always adorably cute!
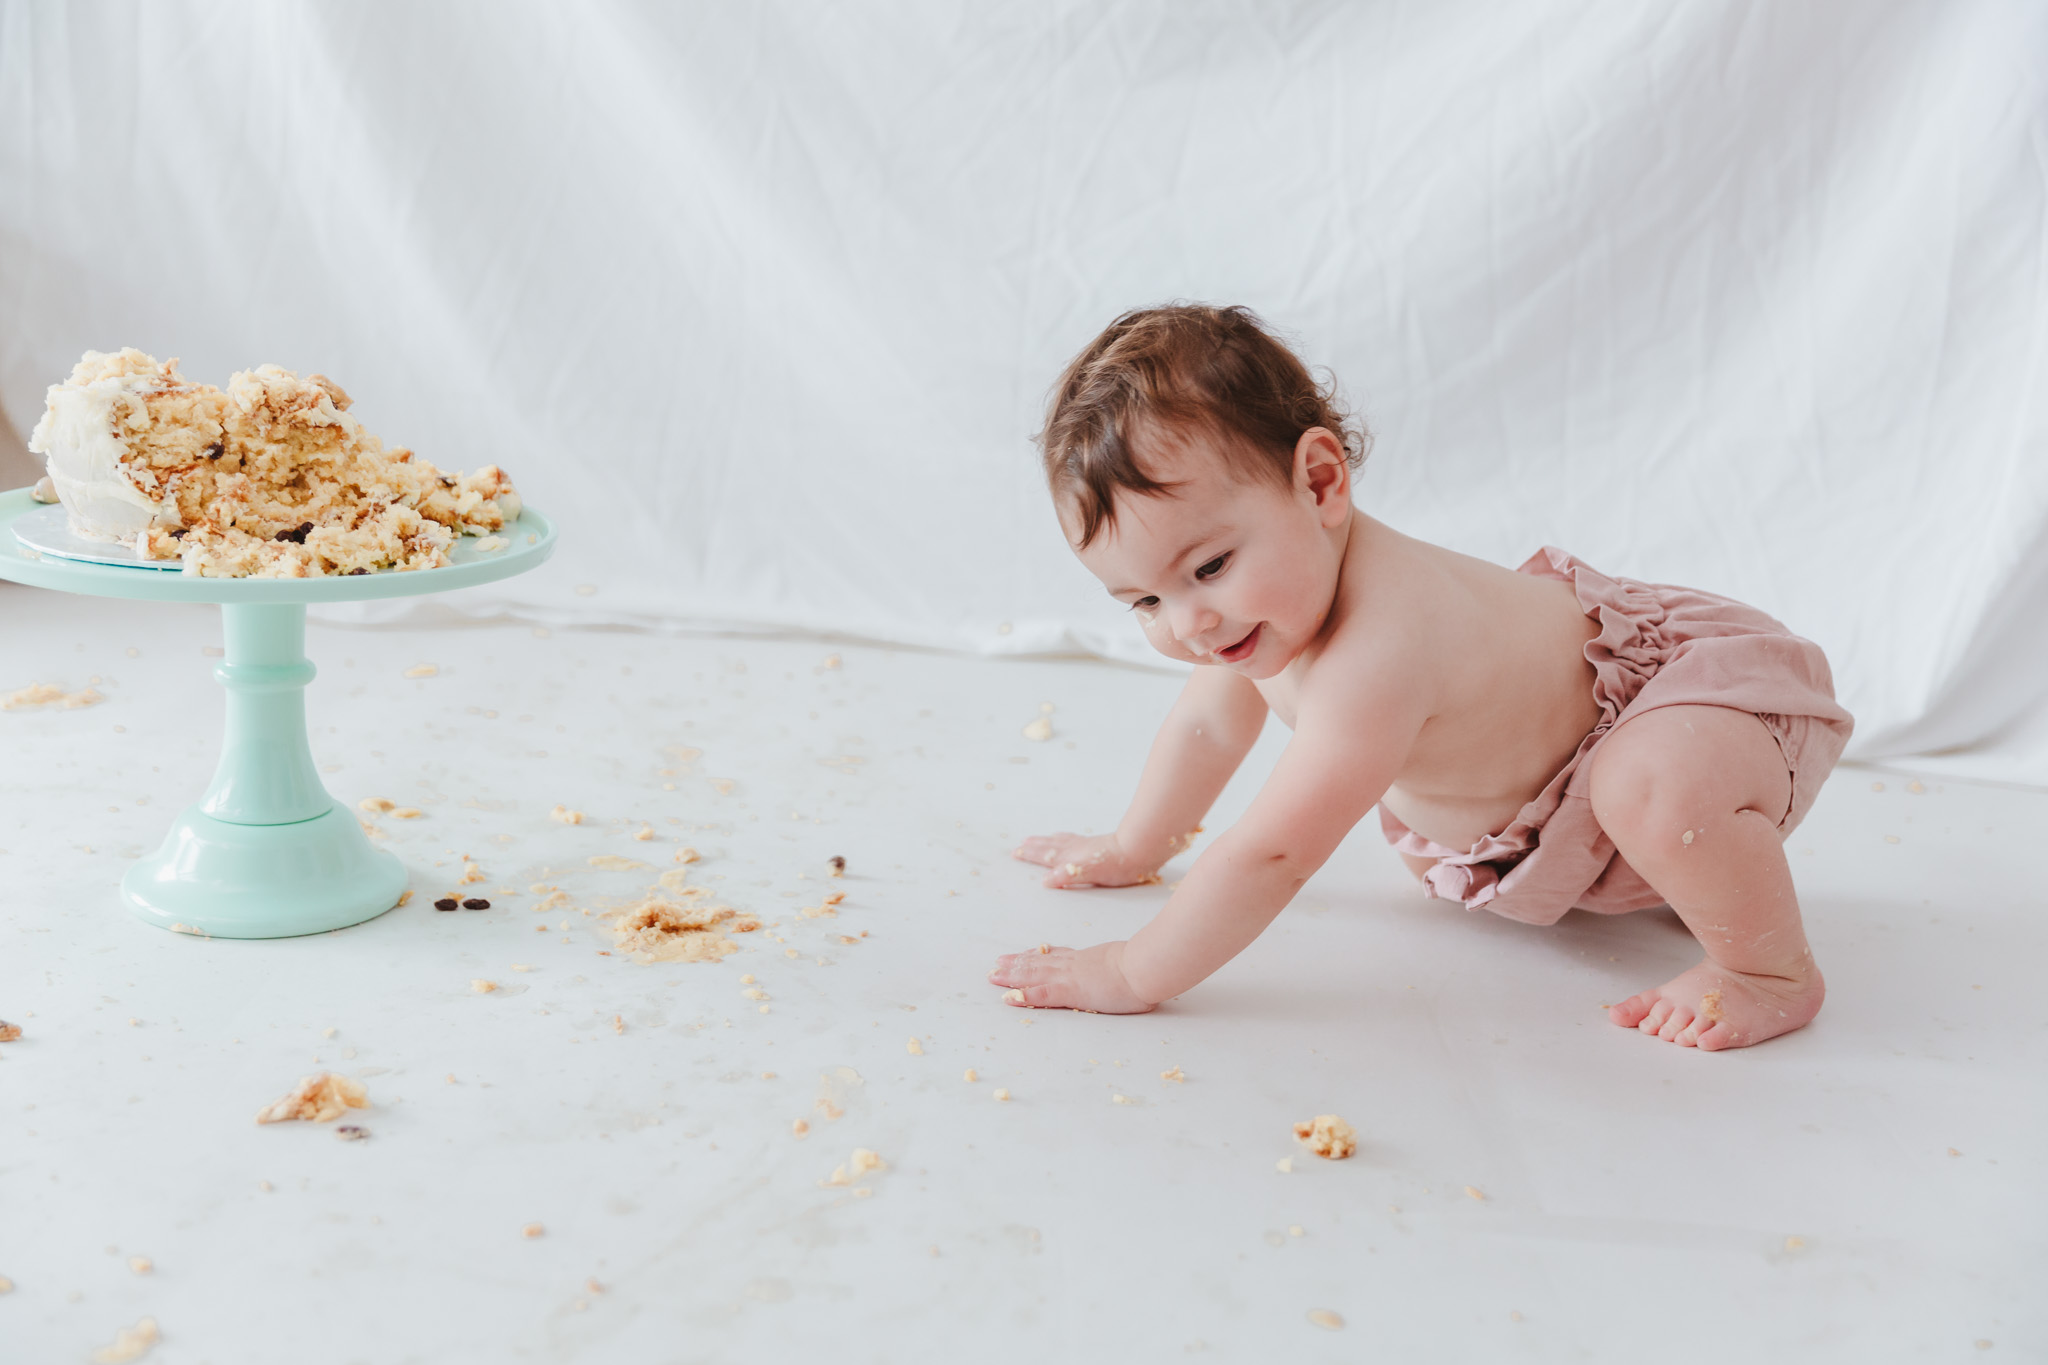
As some of you may know, I don’t have a dedicated photography studio just yet. But that wasn’t going to stop me from giving this family a beautiful experience. After a bit of brainstorming with Laura, I transformed my home living room into a “pop-up” studio! Armed with a large roll of white paper to protect the floors and a white bed sheet to use as a backdrop, I was ready for all the cake chaos Emilia could create!
✴︎ ✴︎ ✴︎
Studio Milestone Photography & Cake Smash Tips for At-Home Sessions
If you’re planning to a milestone photography session at home or contemplating a cake smash photography session for your little one, here are a few simple tips to get the best results, with minimal hassle.
1. Lighting is Key
Choose a room with plenty of natural light. A large bay window or a back door with access to daylight works perfectly. The more light, the better! Great lighting is key for capturing family milestone moments and baby photography at home.
2. Keep it Simple
The secret to a successful at-home session? Less is more! You don’t need elaborate setups to create a beautiful scene. For this shoot, I used a simple white bed sheet as the backdrop. Since I was working in a small room and couldn’t move furniture, the sheet helped create a clean and seamless space for Emilia to sit in front of. A simple backdrop ensures the focus remains on the baby’s expression, making it perfect for milestone photography sessions. (Although, in hindsight, I could have ironed/steamed that bed sheet!)
3. Clean-Up Made Easy
I used a roll of white paper on the floor, which wasn’t strictly necessary but made the cleanup a breeze! Once we were done, I simply rolled up the paper, tossed out the cake-covered sections, and saved the rest for my nieces and nephews to use as drawing paper.
4. Embrace the Mess!
The most important tip for a cake smash? Don’t stress about the mess! It’s all part of the fun and the memories. Let your little one go wild with the cake, and just enjoy the moment. After all, these milestone moments are precious, and it’s the messy moments that make for the most unforgettable memories in baby photography.
✴︎ ✴︎ ✴︎
If you’re feeling inspired, check out my Amazon shopping list for everything you’ll need to create your very own at-home cake smash session for your special little ones milestone birthday.
Supplier Links:
– Photography: Lori Young Photography
– Cake Stand: Party Pieces Co
– Cake Topper: Birch and Tides
– Cake: Baked by Nicky
– Outfit 1 & 3 (Blue & White Romper): A Material Girl
– Outfit 2 (Pink Bloomers): Evie et al






+ show/leave a comment